1. Ներածություն
This manual provides detailed instructions for setting up, operating, and maintaining your Epson L485 Wi-Fi Inktank Printer. Please read this manual thoroughly to ensure proper use and to maximize the performance and longevity of your device.
Ապրանքը ավարտվել էview
The Epson L485 is a versatile all-in-one printer offering print, scan, and copy functionalities with the added convenience of Wi-Fi Direct. It features an innovative ink tank system designed for high-volume printing with impressive page yields and a high print resolution for quality output.

Նկար 1. Առջև view of the Epson L485 Wi-Fi Inktank Printer.
Ինչ կա տուփի մեջ
- Epson L485 Printer Unit
- Ծրագրեր CD
- Power Cable
- Երաշխիքային քարտ
- Set of Original Epson Ink Bottles (Black, Cyan, Magenta, Yellow)
Տեսանյութ 1. Օվերview of the Epson L485 Wi-Fi Inktank Printer's features and design.
2. Կարգավորման ուղեցույց
Follow these steps to set up your Epson L485 printer for the first time.
Video 2: Step-by-step guide on how to set up your Epson InkTank Printer.
2.1 Initial Printer Preparation
- Բացեք տպիչը՝ Carefully remove the printer from its packaging. Remove all protective tapes and materials.
- Check Valve Position: Locate the ink tank valve on the side of the printer. Ensure it is in the upright (printing) position.
- Open Ink Tank Unit: Gently unhook the ink tank unit from the side of the printer and open its lid to access the ink tanks.
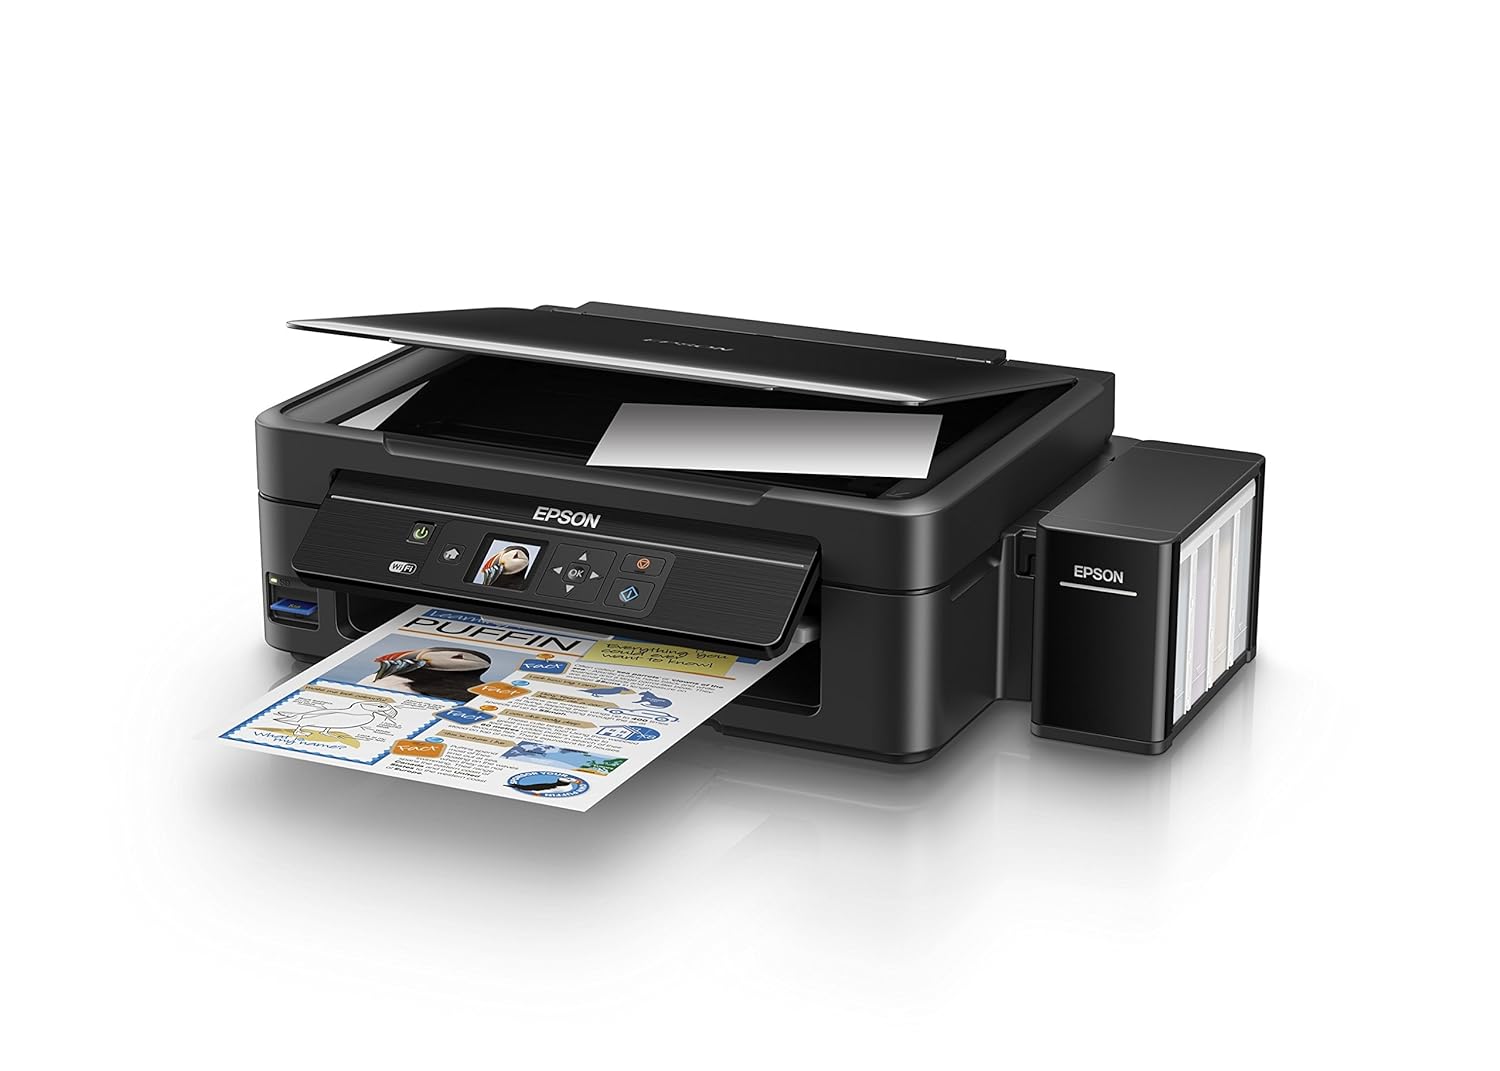
Figure 2: The ink tank unit unhooked and open, showing the ink reservoirs.
2.2 Թանաքի բաքերի լցումը
- Prepare Ink Bottles: Snap off the tip of each ink bottle and remove the cap.
- Fill Ink Tanks: Match the color of the ink bottle with the corresponding ink tank. Carefully pour the entire contents of each ink bottle into its respective tank. Do not overfill.
- Ապահով կափարիչներ՝ Once all tanks are filled, replace the caps securely on the ink tanks.
- Close Ink Tank Unit: Close the lid of the ink tank unit and re-hook it to the printer.

Figure 3: Demonstrating the process of filling an ink tank with a yellow ink bottle.

Figure 4: The four color ink bottles used for the Epson L485 printer.
2.3 Power On and Ink Charging
- Միացրեք հոսանքը. Plug the power cable into the printer and then into a wall outlet.
- Միացնել տպիչը՝ Տպիչը միացնելու համար սեղմեք միացման կոճակը:
- Initiate Ink Charge: Press and hold the 'Ink Charge' button (usually indicated by a droplet icon) for 3 seconds until the lights start blinking. The initial ink charging process takes approximately 20 minutes. Do not turn off or unplug the printer during this process.
- Ավարտում: The lights will stop blinking when ink charging is complete.
2.4 Վարորդի տեղադրում
- Insert Software CD: Insert the provided Software CD into your computer's CD/DVD drive. If your computer does not have a CD drive, download the latest drivers from the official Epson support webկայք։
- Հետևեք էկրանի հրահանգներին. Follow the prompts on your computer screen to install the printer drivers and utilities. Agree to the license agreement and select 'Start & Connection' for setup.
- Connect USB Cable (if prompted): If setting up via USB, connect the USB cable between the printer and your computer when prompted by the installation software.
2.5 Connectivity Setup
The Epson L485 supports both USB and Wi-Fi connectivity.
USB միացում
Connect the USB cable from the printer to an available USB port on your computer. The printer should be recognized automatically after driver installation.
Wi-Fi-ի կարգավորում
The printer features an LCD screen for easy Wi-Fi setup without needing a PC.
- Access Wi-Fi Setup: On the printer's control panel, navigate to the 'Wi-Fi Setup' option using the arrow keys and press 'OK'.
- Ընտրեք ցանց. Choose your desired wireless network from the list and enter the password if required.
- Հաստատեք կապը. Once connected, the Wi-Fi indicator light will be solid, and the LCD screen will confirm the setup is complete.

Figure 5: Demonstrating wireless printing from a smartphone to the Epson L485 printer.
3. Տպիչի շահագործումը
3.1 Տպագրություն
The Epson L485 delivers high-quality prints with a resolution of 5760 dpi. It offers print speeds of up to 33 ppm for black and 15 ppm for color documents.
- Բեռնել թուղթ: Load paper into the rear paper feeder. Adjust the paper guides to fit the paper size.
- Ընտրեք տպման աշխատանք՝ From your computer or mobile device, select the document or image you wish to print.
- Կարգավորել կարգավորումները. Choose your print settings (e.g., paper size, print quality, color/black & white) in the print dialog box.
- Տպել: Սեղմեք «Տպել»՝ աշխատանքը տպիչին ուղարկելու համար։

Figure 6: The Epson L485 printer in action, producing a vibrant print.
3.2 Սկանավորում
The printer features a sheetfed scanner with an optical resolution of 1200 dpi x 2400 dpi for clear and detailed scans.
- Տեղադրման փաստաթուղթ՝ Lift the scanner lid and place your document face-down on the scanner glass, aligning it with the corner mark.
- Սկսել սկանավորումը՝ From your computer, open the Epson Scan software or use the scan function on the printer's control panel.
- Կարգավորել կարգավորումները. Ընտրեք սկանավորման կարգավորումները, ինչպիսիք են լուծաչափը, գունային ռեժիմը և նպատակակետի պանակը:
- Սկսել սկանավորումը՝ Begin the scanning process.

Figure 7: The scanner bed of the Epson L485 printer with the lid open.
3.3 Պատճենում
Պատճեններ պատրաստեք անմիջապես տպիչի կառավարման վահանակից։
- Տեղադրման փաստաթուղթ՝ Place the document you wish to copy on the scanner glass.
- Ընտրեք պատճենման գործառույթը՝ On the printer's LCD screen, navigate to the 'Copy' option.
- Կարգավորել կարգավորումները. Select the number of copies, color or black & white, and other copy settings.
- Start Copy: Սեղմեք «Սկսել» կոճակը՝ պատճենահանումը սկսելու համար։
3.4 Wi-Fi Direct
Wi-Fi Direct allows you to connect your mobile devices directly to the printer without a router, enabling convenient wireless printing.
- Enable Wi-Fi Direct: On the printer's control panel, go to 'Wi-Fi Setup' and select 'Wi-Fi Direct'. Follow the on-screen instructions to enable it and view ցանցի անունը և գաղտնաբառը:
- Միացնել շարժական սարքը. On your mobile device, go to Wi-Fi settings, find the printer's Wi-Fi Direct network, and connect using the provided password.
- Տպել: Use an Epson printing app (e.g., Epson iPrint) or your device's native print function to print directly to the printer.
4. Պահպանում
4.1 Թանաքի լրացում
When ink levels are low, refill the tanks using genuine Epson ink bottles. Refer to section 2.2 for detailed ink filling instructions. Always use the correct color ink for each tank.
4.2 Մաքրում
Կանոնավոր մաքրումը նպաստում է տպագրության որակի պահպանմանը և երկարացնում է ձեր տպիչի կյանքը։
- Արտաքին մաքրում. Մաքրեք տպիչի արտաքին մասը փափուկ,amp կտոր. Խուսափեք հղկող մաքրող միջոցներ օգտագործելուց:
- Տպման գլխի մաքրում. If print quality declines (e.g., missing lines, incorrect colors), perform a print head cleaning using the printer's utility software on your computer or through the printer's control panel menu.
- Վարդակի ստուգում. Run a nozzle check pattern to diagnose print quality issues before performing a head cleaning.
5: Անսարքություն
Այս բաժինը անդրադառնում է ձեր Epson L485 տպիչի հետ կապված տարածված խնդիրներին։
5.1 Տպիչը չի արձագանքում
- Համոզվեք, որ տպիչը միացված է և ապահով կերպով միացված է վարդակիցին։
- Check the USB cable connection to both the printer and computer, or verify the Wi-Fi connection status.
- Վերագործարկեք և՛ տպիչը, և՛ համակարգիչը/բջջային սարքը։
5.2 Տպագրության ցածր որակ
- Perform a nozzle check to identify clogged nozzles. If necessary, run a print head cleaning cycle.
- Ստուգեք թանաքի մակարդակը և լիցքավորեք բոլոր ցածր պարունակությամբ բաքերը։
- Ensure you are using genuine Epson ink and appropriate paper types for your print job.
5.3 Թղթի խցանումներ
- Turn off the printer and carefully remove any jammed paper from the paper tray, output tray, or inside the printer.
- Համոզվեք, որ թուղթը ճիշտ է լցված և ծալքավորված կամ կնճռոտված չէurlխմբ.
6. Տեխնիկական պայմաններ
| Բրենդ | Epson |
| Մոդելի անվանումը | L485 |
| Միացման տեխնոլոգիա | Wi-Fi |
| Տպագրության տեխնոլոգիա | Inkjet |
| Հատուկ առանձնահատկություն | Հիշողության քարտի բնիկ |
| Գույն | Սեւ |
| Տպիչի ելք | Գույն |
| Առավելագույն տպագրության արագություն (գունավոր) | 15 ppm |
| Առավելագույն տպագրության արագություն (մոնոխրոմ) | 33 ppm |
| Նյութի քաշը | 6001 գրամ |
| Տպիչի տեսակը | Inkjet |
| Սկաների տեսակը | Թերթված |
| Maximum Copy Speed (Black and White) | 33 ppm |
| Ցուցադրման տեսակը | LCD |
| Համատեղելի սարքեր | Սմարթֆոններ |
| Թանաքի գույնը | Սև, Երկնագույն, Մանուշակագույն, Դեղին |
| Բանաձեւ | 5760 x 5760 DPI |
| Լրացուցիչ տպիչի գործառույթներ | All In One (Print, Scan, Copy) |
| Առավելագույն մեդիայի չափը | A4 |
| Թղթի չափը | A4 |
| Երկկողմանի տպագրություն | Ոչ |
7. Երաշխիք և աջակցություն
Your Epson L485 Wi-Fi Inktank Printer comes with a free installation service and an onsite warranty.
7.1 Free Installation and Onsite Warranty
To avail free installation for your printer, please contact Epson support after receiving your product. The onsite warranty covers manufacturing defects and ensures professional assistance at your location.
7.2 Կապվեք աջակցության ծառայության հետ
For installation, support, or any technical assistance, please contact Epson customer service:
- Հեռախոս: 1860 3000 1600 (Timings: 9 am - 6 pm)