1. Ներածություն
This manual provides instructions for the installation, operation, and maintenance of the Gecko in.k600 Electronic Keypad. This keypad is designed for use with Gecko's X (in.xm, in.xe) and Y series (in.yt, in.ye, in.yj) control systems for spas. Please read these instructions carefully before using your keypad to ensure proper function and longevity.
2. Ապրանքը ավարտված էview
The Gecko in.k600 keypad features a large LCD display and 11 raised keys, providing a streamlined interface for controlling your spa's functions. Its low-profile design ensures easy integration into your spa environment.
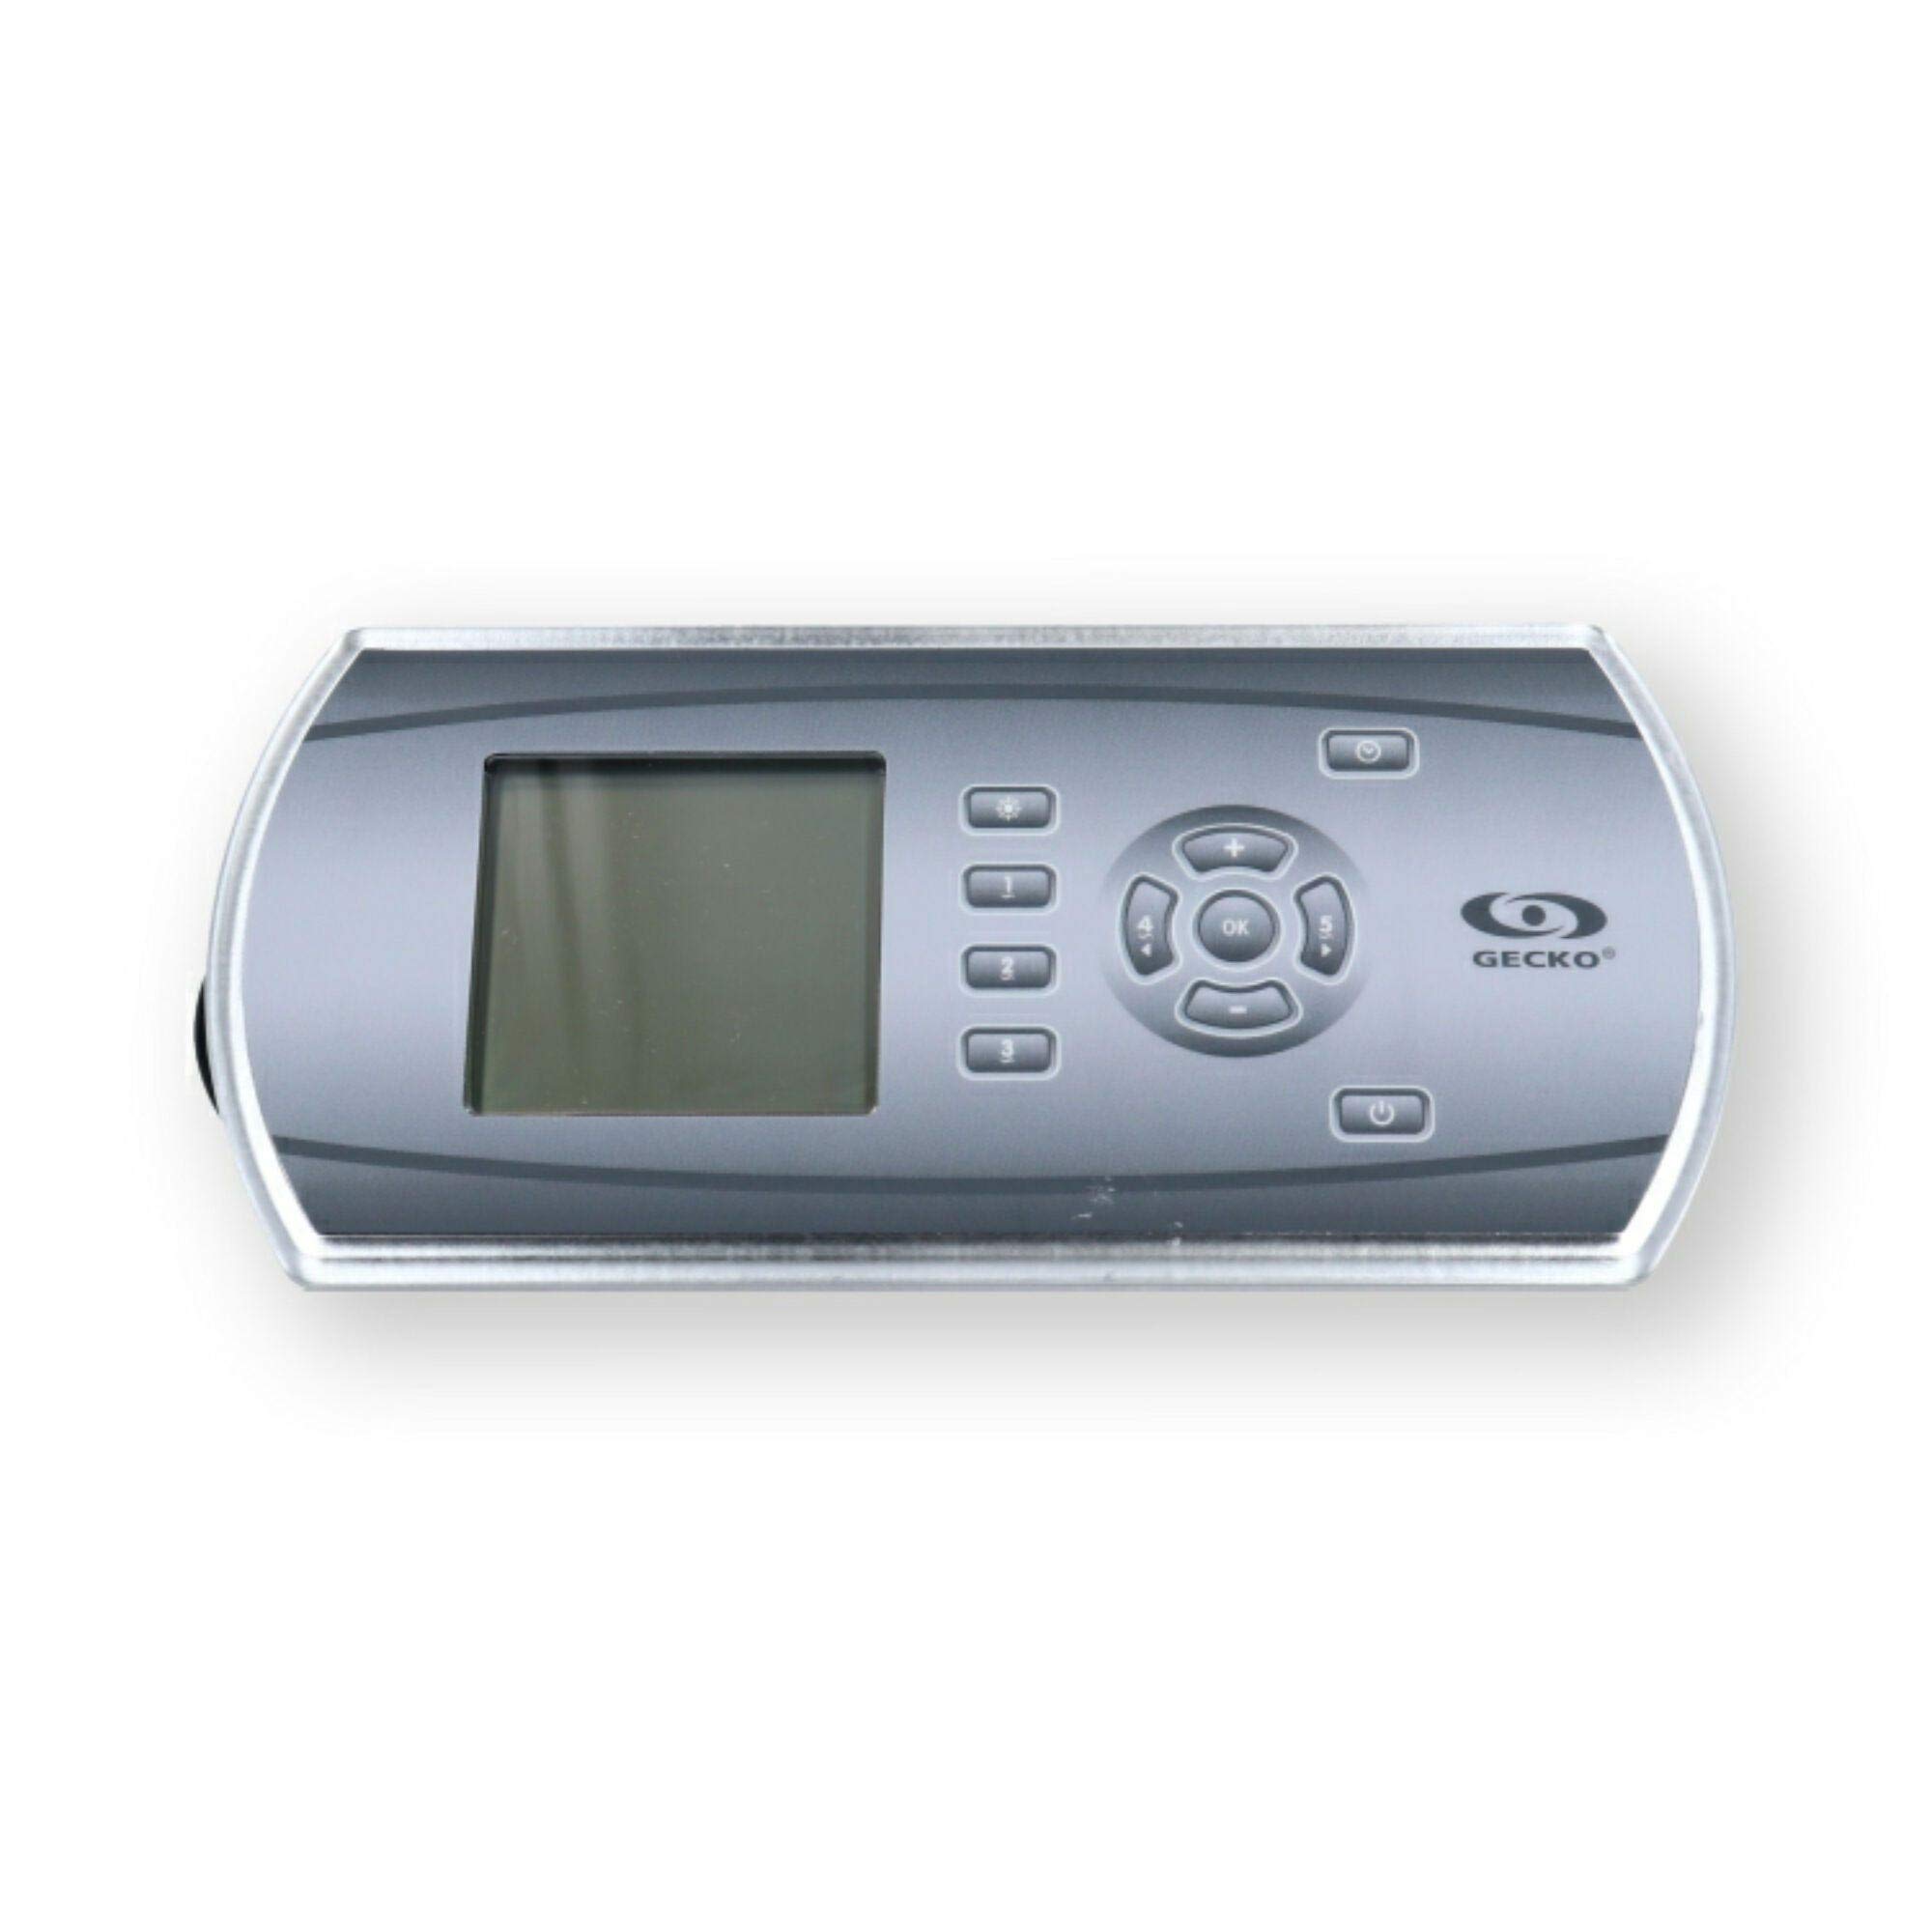
Նկար 1: Gecko in.k600 Electronic Keypad. This image shows the rectangular keypad with a large LCD screen on the left and a cluster of 11 buttons on the right, including a central 'OK' button surrounded by directional arrows, and dedicated buttons for light, pumps, temperature, program, and power.
Հիմնական հատկանիշները:
- Large LCD display for clear information readout.
- 11 raised keys for tactile control.
- Compatible with Gecko in.xm, in.xe, in.yt, in.ye, and in.yj control systems.
- In.Link Plug with 10-foot cord for connection.
- Dimensions: Approximately 8.75" x 4.25" (Rectangle with Rounded Sides).
3. Կարգավորում և տեղադրում
The Gecko in.k600 keypad is designed for integration with compatible Gecko spa control systems. Installation should ideally be performed by a qualified technician.
- Էլեկտրաէներգիայի անջատում. Ensure the main power to the spa control system is completely disconnected before beginning installation.
- Մոնտաժում: Mount the keypad in the designated location on your spa. Ensure the opening is correctly sized for the keypad's dimensions (approximately 8.75" x 4.25").
- Միացում: Connect the in.Link plug from the keypad's 10-foot cord to the corresponding port on your Gecko control system (in.xm, in.xe, in.yt, in.ye, or in.yj). Ensure the connection is secure.
- Կնքումը: Ensure proper sealing around the keypad to prevent water ingress into the spa's electronics compartment.
- Էլեկտրաէներգիայի վերամիացում՝ Once the keypad is securely installed and connected, restore power to the spa control system.
Նշում. Refer to your specific spa control system's manual for detailed wiring diagrams and installation procedures.
4. Գործառնական հրահանգներ
The in.k600 keypad provides intuitive control over your spa's functions. Below is a general guide to the button functions:
| Կոճակ | Գործառույթ |
|---|---|
| Լույս | Activates or deactivates the spa's lighting system. Multiple presses may cycle through light modes or colors. |
| Pump 1-5 | Activates or deactivates the corresponding spa pump. Some pumps may have multiple speeds (e.g., low/high) which can be cycled by pressing the button repeatedly. |
| OK | Confirms selections or enters menu options. |
| Temp+ / Temp- | Adjusts the desired water temperature setting. |
| Ծրագիր | Accesses programming menus for settings such as filtration cycles, economy modes, or clock adjustments. |
| Իշխանություն | Turns the spa system on or off (standby mode). |
For detailed operation of specific spa functions and programming, consult the user manual for your Gecko spa control system.
5. Պահպանում
To ensure the longevity and proper functioning of your Gecko in.k600 keypad, follow these maintenance guidelines:
- Մաքրում: Clean the keypad surface regularly with a soft, damp cloth. Avoid abrasive cleaners, solvents, or harsh chemicals, as these can damage the display and buttons.
- Ջրի ազդեցությունը. While designed for spa environments, avoid prolonged direct exposure to strong jets of water or submersion. Ensure the overlay remains intact to protect internal components.
- Ստուգում: Periodically inspect the keypad and its cord for any signs of wear, damage, or loose connections.
6: Անսարքություն
If you encounter issues with your in.k600 keypad, consider the following common troubleshooting steps:
- Ստեղնաշարը չի արձագանքում.
- Check if the spa control system has power.
- Ensure the in.Link cable is securely connected to both the keypad and the control system.
- Try cycling the power to the entire spa system (turn off at the breaker for a few minutes, then turn back on).
- Blank or Malfunctioning LCD Display:
- Verify power to the spa.
- Check the keypad's connection cable.
- If the display remains blank or shows erratic characters after power cycling, the keypad may require replacement.
- Կոճակները չեն արձագանքում.
- Ensure the keypad surface is clean and free of debris that might obstruct button presses.
- If individual buttons consistently fail, the keypad membrane may be faulty, indicating a need for replacement.
For complex issues or if troubleshooting steps do not resolve the problem, contact a qualified spa technician or Gecko customer support.
7. Տեխնիկական պայմաններ
| Առանձնահատկություն | Մանրամասն |
|---|---|
| Մոդել | in.k600 |
| Մասի համարները | 0607-008064, 3-00-7250, BDLINK6005OP, BDLK6005OP, IN.K600-5OP, 58-337-1612, 14233 |
| Ցուցադրման տեսակը | Մեծ LCD |
| Կոճակների քանակը | 11 (Light, Pump 1-5, OK, Temp+, Temp-, Program, Power) |
| Համատեղելիություն | Gecko in.xm, in.xe, in.yt, in.ye, in.yj control systems |
| Միացում | In.Link Plug w/10' Cord |
| Չափերը | Approx. 8.75" x 4.25" (Rectangle with Rounded Sides) |
| Արտադրող | Գեկկո |
8. Երաշխիքային տեղեկատվություն
Warranty terms and conditions for the Gecko in.k600 Electronic Keypad are provided by the manufacturer, Gecko, or the authorized seller at the time of purchase. Please retain your proof of purchase for warranty claims. For specific details regarding your product's warranty, refer to the documentation included with your purchase or contact the seller directly.
9. Աջակցություն
For technical assistance, replacement parts, or further inquiries regarding your Gecko in.k600 keypad, please contact your authorized dealer or the manufacturer, Gecko. You may also visit the official Gecko webկայք աջակցության ռեսուրսների համար:
Gecko Store Link: Gecko Depot USA on Amazon