1. Ներածություն
Շնորհակալություն գնման համարasing the IRRADIO VDP-4600HDW LCD/LED Projector. This manual provides essential information for the safe and efficient operation of your device. Please read it thoroughly before use and retain it for future reference.
2. Անվտանգության հրահանգներ
- Մի՛ փակեք օդափոխության անցքերը: Ապահովեք պրոյեկտորի շուրջ բավարար օդային հոսք՝ գերտաքացումից խուսափելու համար:
- Մի՛ նայեք ուղիղ պրոյեկտորի օբյեկտիվի մեջ, երբ…amp միացված է, քանի որ պայծառ լույսը կարող է աչքերի վնաս պատճառել։
- Keep the projector away from water or other liquids. Do not operate in damp կամ խոնավ պայմաններ:
- Օգտագործեք միայն պրոյեկտորի հետ մատակարարվող սնուցման ադապտերը։
- Do not attempt to repair the projector yourself. Refer all servicing to qualified personnel.
- Տեղադրեք պրոյեկտորը կայուն, հարթ մակերեսի վրա, որպեսզի այն չընկնի։
3. Փաթեթի բովանդակությունը
Խնդրում ենք ստուգել, որ բոլոր իրերը առկա են ձեր փաթեթում։
- IRRADIO VDP-4600HDW Projector
- Հեռակառավարման վահանակ
- Power Cable
- HDMI մալուխ
- AV Cable
- Օգտագործողի ձեռնարկ
4. Ապրանքը ավարտված էview
4.1. Պրոյեկտորի բաղադրիչներ

Նկար 4.1: Ընդհանուր առմամբ view of the IRRADIO VDP-4600HDW Projector. This image displays the projector from an angled perspective, highlighting its compact design and the lens on the front left side, with ventilation grilles and control buttons visible on the top and sides.

Նկար 4.2: Ճակատ view of the projector. This image focuses on the large projection lens on the left, with the IRRADIO logo and ventilation grilles on the right side of the front panel.

Նկար 4.3: Հետևի view of the projector. This image shows the VGA port, focus adjustment knob, and keystone correction knob on the rear panel, along with additional ventilation.
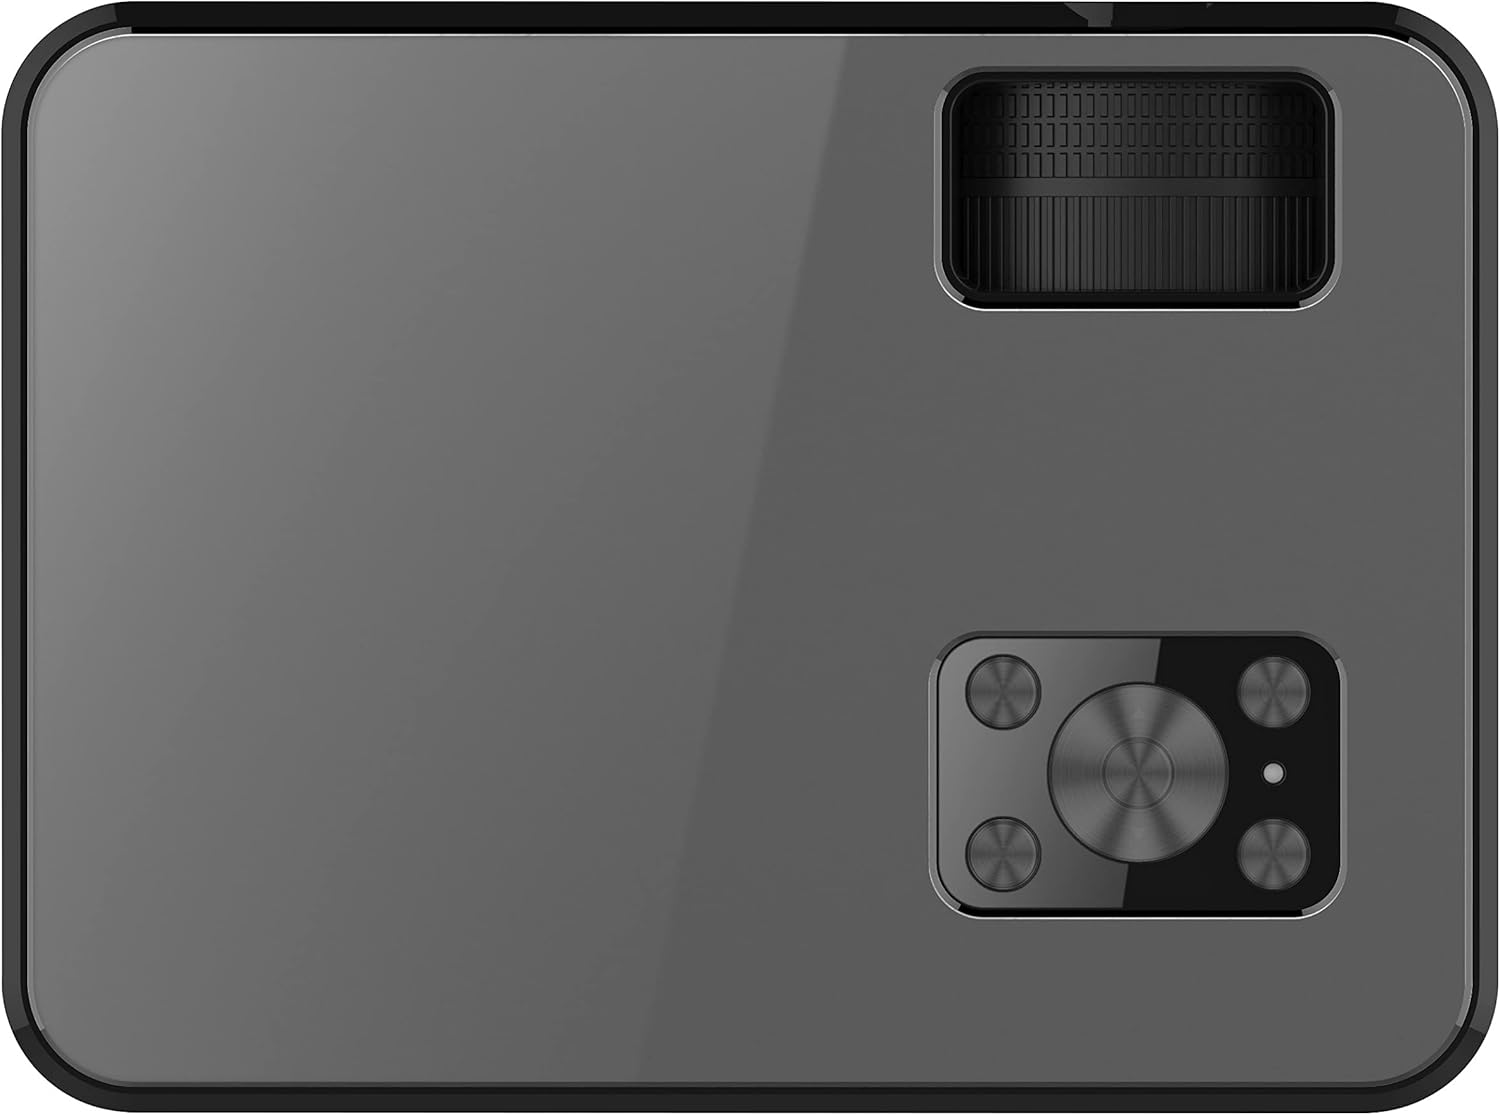
Նկար 4.4: Վերև view of the projector. This image displays the control panel with navigation buttons (up, down, left, right, OK), source, menu, and exit buttons, along with the power button and volume controls.

Նկար 4.5: Կողք view of the projector showing input/output ports. This image highlights two HDMI ports, AV input, two USB ports, and a 3.5mm headphone jack (audio out).

Նկար 4.6: Հակառակ կողմը view of the projector. This image shows the power input port and additional ventilation grilles.

Նկար 4.7: Ներքևում view of the projector. This image displays the mounting points for ceiling installation and rubber feet for stable placement on a flat surface.
4.2. Հեռակառավարման վահանակ
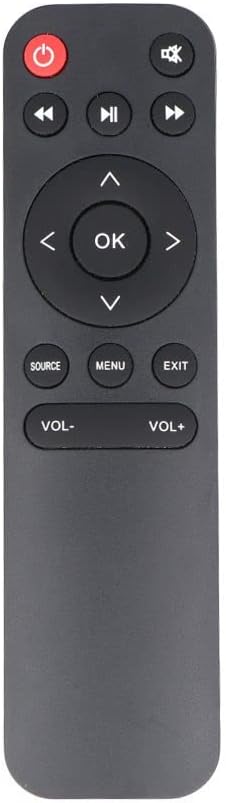
Նկար 4.8: The remote control for the IRRADIO VDP-4600HDW Projector. It features buttons for power, mute, navigation (up, down, left, right, OK), source selection, menu, exit, and volume control.
4.3. Ports and Controls Overview
- Power կոճակը. Միացնում/անջատում է պրոյեկտորը:
- Ոսպնյակներ: Նախագծում է պատկերը։
- Կենտրոնացման օղակ. Կարգավորում է պատկերի պարզությունը։
- Keystone ուղղում: Adjusts image distortion.
- HDMI միացքներ (x2): Connect to HDMI-enabled devices (laptops, gaming consoles, Blu-ray players).
- USB միացքներ (x2): Միացրեք USB կրիչները մեդիա նվագարկման համար։
- VGA նավահանգիստ: Connect to computers with VGA output.
- AV միացք։ Connect to older devices using composite video.
- 3.5 մմ աուդիո ելք. Միացրեք արտաքին բարձրախոսներ կամ ականջակալներ։
- IR ընդունիչ: Հեռակառավարման ազդանշանների համար։
5. Կարգավորում
5.1. Տեղադրում
Place the projector on a stable, flat surface or mount it to the ceiling. Ensure the projector is positioned directly in front of the projection screen or wall. The optimal projection distance ranges from 1.52 meters to 3.48 meters, yielding a screen size between 50 and 120 inches.
- Առջևի պրոյեկցիա՝ Place the projector in front of the screen.
- Հետևի պրոյեկցիա՝ Տեղադրեք պրոյեկտորը կիսաթափանցիկ էկրանի ետևում։
- Առաստաղի լեռ. The projector can be inverted and mounted to the ceiling. Adjust settings in the OSD menu for inverted projection.
5.2. Էլեկտրաէներգիայի միացում
- Միացրեք սնուցման մալուխը պրոյեկտորի սնուցման մուտքի միացքին։
- Plug the other end of the power cable into a standard electrical outlet (220V AC, 50Hz).
- Սեղմեք պրոյեկտորի կամ հեռակառավարման վահանակի վրա գտնվող միացման կոճակը՝ այն միացնելու համար։
5.3. Ֆոկուսի և հիմնաքարի կարգավորում
- Միացրեք պրոյեկտորը և ցուցադրեք պատկեր:
- Պտտեցնել Ֆոկուսի օղակ (located near the lens) until the image appears sharp and clear.
- Կարգավորել Keystone- ի ուղղում knob (located on the rear panel) to correct any trapezoidal distortion, making the image rectangular.
6. Գործում
6.1. Միացնել/անջատել
Սեղմեք պրոյեկտորի կամ հեռակառավարման վահանակի վրա գտնվող միացման կոճակը՝ սարքը միացնելու կամ անջատելու համար։
6.2. Ներածման աղբյուրի ընտրություն
After powering on, press the ԱՂԲՅՈՒՐ button on the remote control or the projector's control panel to cycle through available input sources (HDMI1, HDMI2, USB1, USB2, VGA, AV).
6.3. Արտաքին սարքերի միացում
- HDMI: Connect an HDMI cable from your device (e.g., laptop, game console) to one of the projector's HDMI ports. Select the corresponding HDMI input.
- VGA: Connect a VGA cable from your computer to the projector's VGA port. Select the VGA input.
- Ա.Վ. Use the provided AV cable to connect to devices with composite video output. Select the AV input.
- USB: Insert a USB flash drive into a USB port. The projector's media player interface will appear automatically or can be accessed via the source menu.
6.4. Media Playback (USB)
The integrated media player supports various formats:
- Պատկերի ձևաչափեր. JPEG, BMP, PNG, MPO
- Տեսանյութի ձևաչափեր. MPEG1, MPEG2, H.263, H.264, AVS, MJPEG, RV30, RV40, HEVC
- Աուդիո ձևաչափեր. MPEG1, MPEG2, LPCM, MP3
Նավարկել files using the remote control's arrow keys and press OK ընտրել.
6.5. Wireless Audio Connection
The projector features an integrated wireless audio function for connecting to external audio devices. Refer to the on-screen display (OSD) menu for specific pairing instructions. Typically, you will need to enable the wireless audio feature in the projector's settings and then pair it with your desired external speaker or headphone.
7. Պահպանում
7.1. Լինզայի մաքրում
Use a soft, lint-free cloth and a specialized lens cleaning solution to gently wipe the lens. Avoid abrasive materials or excessive pressure.
7.2. Փոշու ֆիլտրի մաքրում
Regularly check and clean the dust filters to ensure optimal airflow and prevent overheating. Use a soft brush or a vacuum cleaner with a brush attachment to remove dust from the ventilation grilles.
7.3. Պահպանում
When not in use for extended periods, store the projector in a cool, dry place, protected from dust and direct sunlight. Use the original packaging or a protective case.
8: Անսարքություն
- Հզորություն չկա. Համոզվեք, որ սնուցման մալուխը ապահով կերպով միացված է, և սնուցման վարդակը գործում է։
- Պատկեր չկա՝ Check the input source selection. Ensure the connected device is powered on and sending a signal. Verify cable connections.
- Մշուշոտ պատկեր. Adjust the focus ring. Ensure the projection distance is within the optimal range.
- Image Distorted: Կարգավորեք հիմնական քարի ուղղումը:
- Ձայն չկա. Check the volume settings on both the projector and the connected device. If using external speakers, ensure they are properly connected or paired via wireless audio.
- Հեռակառավարումը չի աշխատում. Replace the batteries. Ensure there are no obstructions between the remote and the projector's IR receiver.
9. Տեխնիկական պայմաններ
| Առանձնահատկություն | Հստակեցում |
|---|---|
| Պրոյեկցիոն համակարգ | LCD panel with LED light source |
| Մայրենի բանաձեւ | 1920x1080 (Full HD 1080p) |
| Դինամիկ հակադրության հարաբերակցություն | 2000։1 |
| Light Source Brightness | 3000 լյումեն |
| LED Լamp Կյանք | 50,000 ժամ |
| Ոսպնյակներ | Ձեռքով ֆոկուս |
| Անլար աուդիո ֆունկցիա | Ինտեգրված |
| Միացում | 2x HDMI, 2x USB, VGA, AV Composite, 3.5mm Headphone Jack (output) |
| Ասպեկտների հարաբերակցություն | 16:9 Native / 4:3 Compatible |
| Օպտիմալ պրոյեկցիայի չափ | 50" - 120" |
| Օպտիմալ նախագծման հեռավորություն | 1.52 մ-ից մինչև 3.48 մ |
| Պրոյեկցիոն ռեժիմներ | Front, Rear, Ceiling (Front/Rear) |
| Աուդիո | 1x 3W Hi-Fi Speaker |
| Սառեցման համակարգ | Կրկնակի հովացման համակարգ |
| OSD լեզու | 23 լեզու |
| Էլեկտրամատակարարում | 220V AC 50Hz (single phase) |
| Քաշը | 1.4 կգ |
| Չափերը (Վ x Հ x Վ) | 222 x 91 x 173 մմ |
10. Երաշխիք և աջակցություն
Information regarding specific warranty terms and support contacts is not available in the provided product data. Please refer to the product packaging or the retailer's webկայք՝ երաշխիքային մանրամասների և հաճախորդների աջակցության տեղեկատվության համար: