1. Ներածություն
Thank you for choosing the Baseus A2 Pro Handheld Vacuum Cleaner. This compact and powerful cordless vacuum is designed for efficient cleaning in various environments, from your car to your home or office. Its lightweight design, strong suction, and versatile attachments make it an ideal tool for quick clean-ups and reaching tight spaces. Please read this manual thoroughly before use to ensure proper operation and maintenance.
2. Ի՞նչ կա տուփի մեջ
Your Baseus A2 Pro package includes the following components:
- Baseus A2 Pro Handheld Vacuum Cleaner Unit
- 2-in-1 Brush and Crevice Nozzle
- Փչող վարդակ
- USB-C լիցքավորման մալուխ
- Օգտագործողի ձեռնարկ

Figure 2.1: Baseus A2 Pro Handheld Vacuum Cleaner with included accessories.
3. Ապրանքը ավարտված էview
Familiarize yourself with the components of your Baseus A2 Pro vacuum cleaner:
- Հիմնական միավոր: Contains the motor, battery, and control buttons.
- Փոշու բաժակ. Transparent compartment for collecting debris.
- HEPA զտիչ. Located inside the dust cup, filters fine particles.
- Power կոճակը. Turns the vacuum on/off.
- Ռեժիմի կոճակ. Adjusts suction power levels.
- USB-C լիցքավորման միացք. Ներքին մարտկոցը լիցքավորելու համար։
- 2-in-1 Nozzle: Features a brush for agitation and a crevice tool for narrow gaps.
- Blower Nozzle: Attaches to the exhaust port for blowing dust.

Figure 3.1: Close-up of the versatile 2-in-1 nozzle and the blower nozzle.
4. Կարգավորում
4.1 Ժողովում
- Ensure the HEPA filter is correctly seated inside the transparent dust cup.
- Align the dust cup with the main unit and twist clockwise until it locks securely into place.
- Attach the desired nozzle (2-in-1 or blower) to the appropriate port. For vacuuming, attach the 2-in-1 nozzle to the suction inlet. For blowing, attach the blower nozzle to the exhaust port at the rear of the unit.
4.2 Լիցքավորում
Առաջին օգտագործումից առաջ ամբողջությամբ լիցքավորեք փոշեկուլը։
- Connect the USB-C charging cable to the charging port on the vacuum cleaner.
- Plug the other end of the USB-C cable into a compatible 5V/2A USB power adapter (not included) or a car USB port.
- The charging indicator light will illuminate during charging. A full charge typically takes approximately 3-4 hours.
- Once fully charged, the indicator light may change color or turn off, depending on the model.
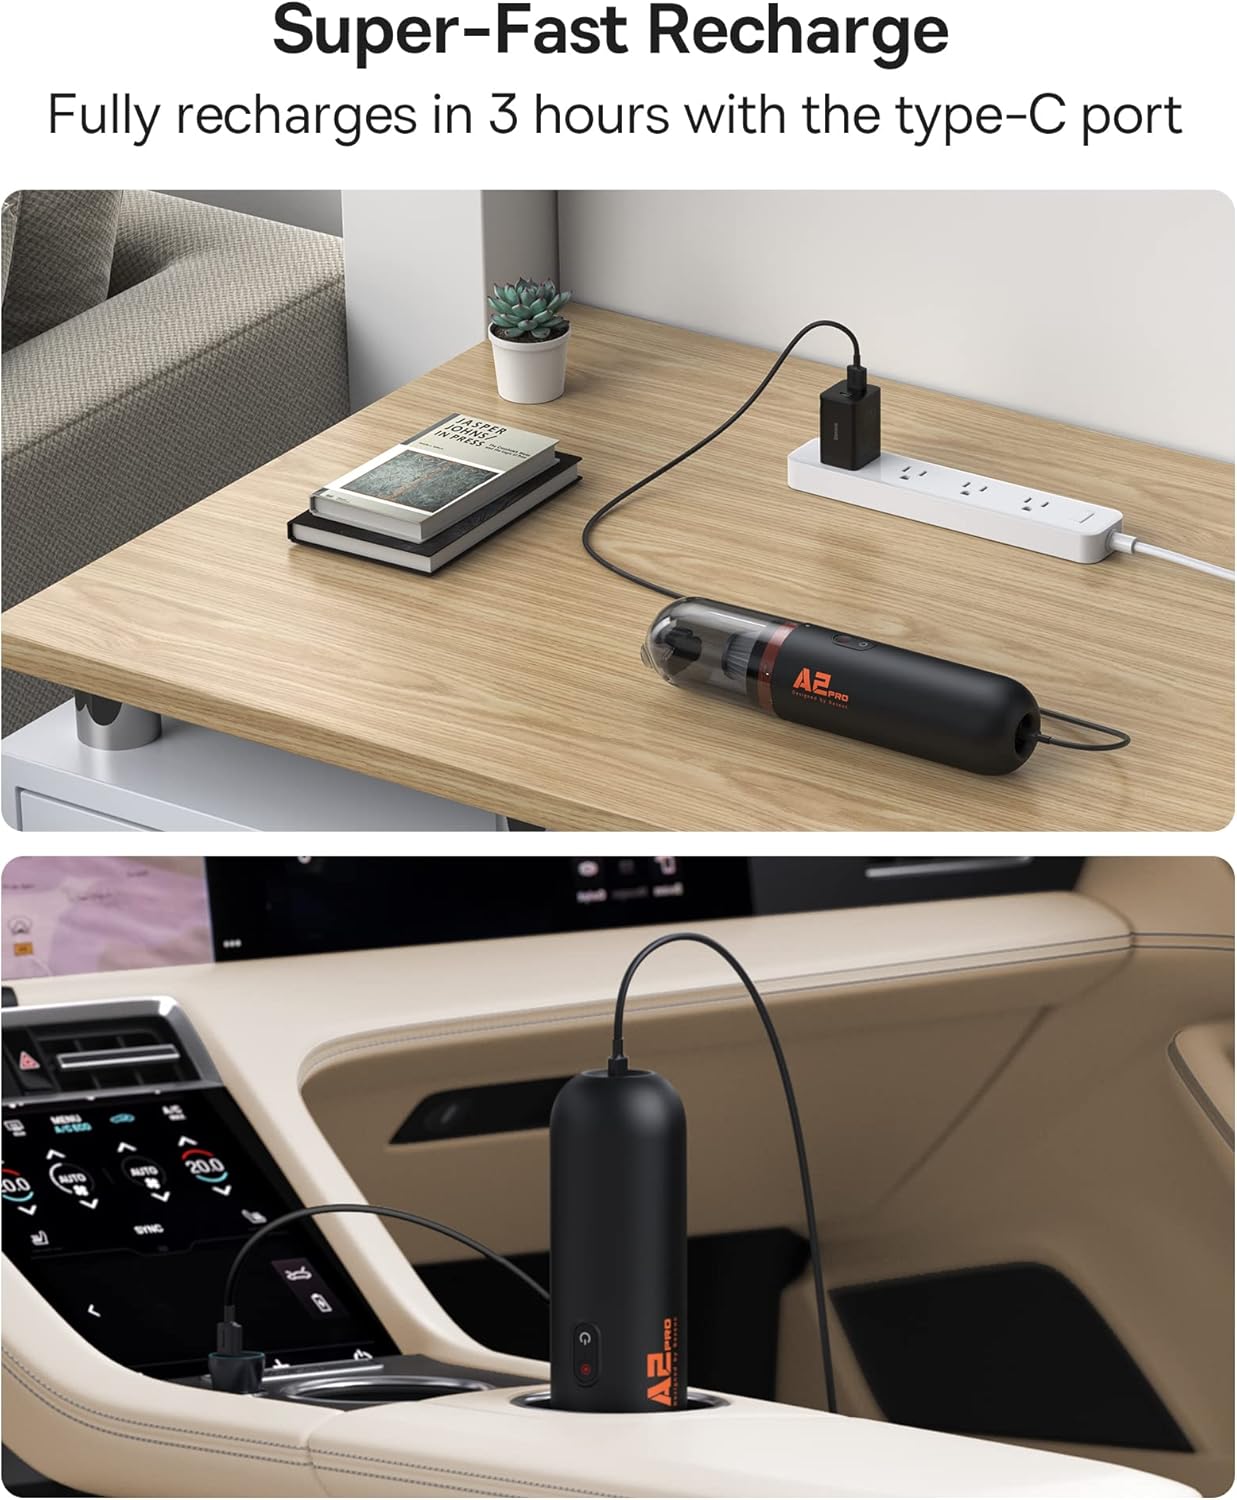
Figure 4.1: Charging the Baseus A2 Pro in different environments.
5. Գործառնական հրահանգներ
5.1 Միացում/անջատում
Press and hold the Power Button (usually marked with a power symbol) to turn the vacuum cleaner on or off.
5.2 Ներծծման հզորության կարգավորում
The Baseus A2 Pro features two power levels. While the vacuum is on, press the Mode Button (often located near the power button) to switch between low and high suction modes. The indicator lights will show the current power level.
5.3 Փոշեկուլավորում
- Attach the 2-in-1 nozzle to the suction inlet.
- For general cleaning, use the brush attachment to agitate debris on surfaces like car seats, carpets, or keyboards.
- For tight corners, crevices, or between seats, slide the brush back to expose the crevice tool.
- Move the vacuum slowly over the area to be cleaned, ensuring the nozzle makes good contact with the surface.

Figure 5.1: Vacuuming a couch with the Baseus A2 Pro, highlighting its low noise level.

Figure 5.2: Effective cleaning of car interiors, including hard-to-reach areas.
5.4 Փչելու ֆունկցիա
The Baseus A2 Pro can also be used as a blower to clear dust from hard-to-reach areas.
- Remove the dust cup and any attached nozzle from the suction inlet.
- Attach the blower nozzle to the exhaust port located at the rear of the main unit.
- Turn on the vacuum cleaner and direct the airflow to blow away dust from keyboards, car vents, or other delicate surfaces.
6. Պահպանում
Կանոնավոր սպասարկումը ապահովում է ձեր փոշեկուլի օպտիմալ աշխատանքը և երկարացնում է դրա կյանքի տևողությունը։
6.1 Փոշու բաժակի դատարկումը
- Համոզվեք, որ փոշեկուլն անջատված է:
- Twist the dust cup counter-clockwise to detach it from the main unit.
- Զգուշորեն հավաքված աղբը լցրեք աղբամանի մեջ։
6.2 HEPA ֆիլտրի մաքրում
The HEPA filter is washable and reusable. Clean it regularly, especially when suction power decreases.
- After emptying the dust cup, remove the HEPA filter.
- Rinse the HEPA filter under running water until it is clean. Do not use detergents or hot water.
- Allow the filter to air dry completely for at least 24 hours before reinserting it into the dust cup. Ensure it is completely dry to prevent mold or damage.
- Reassemble the filter into the dust cup and attach the dust cup back to the main unit.
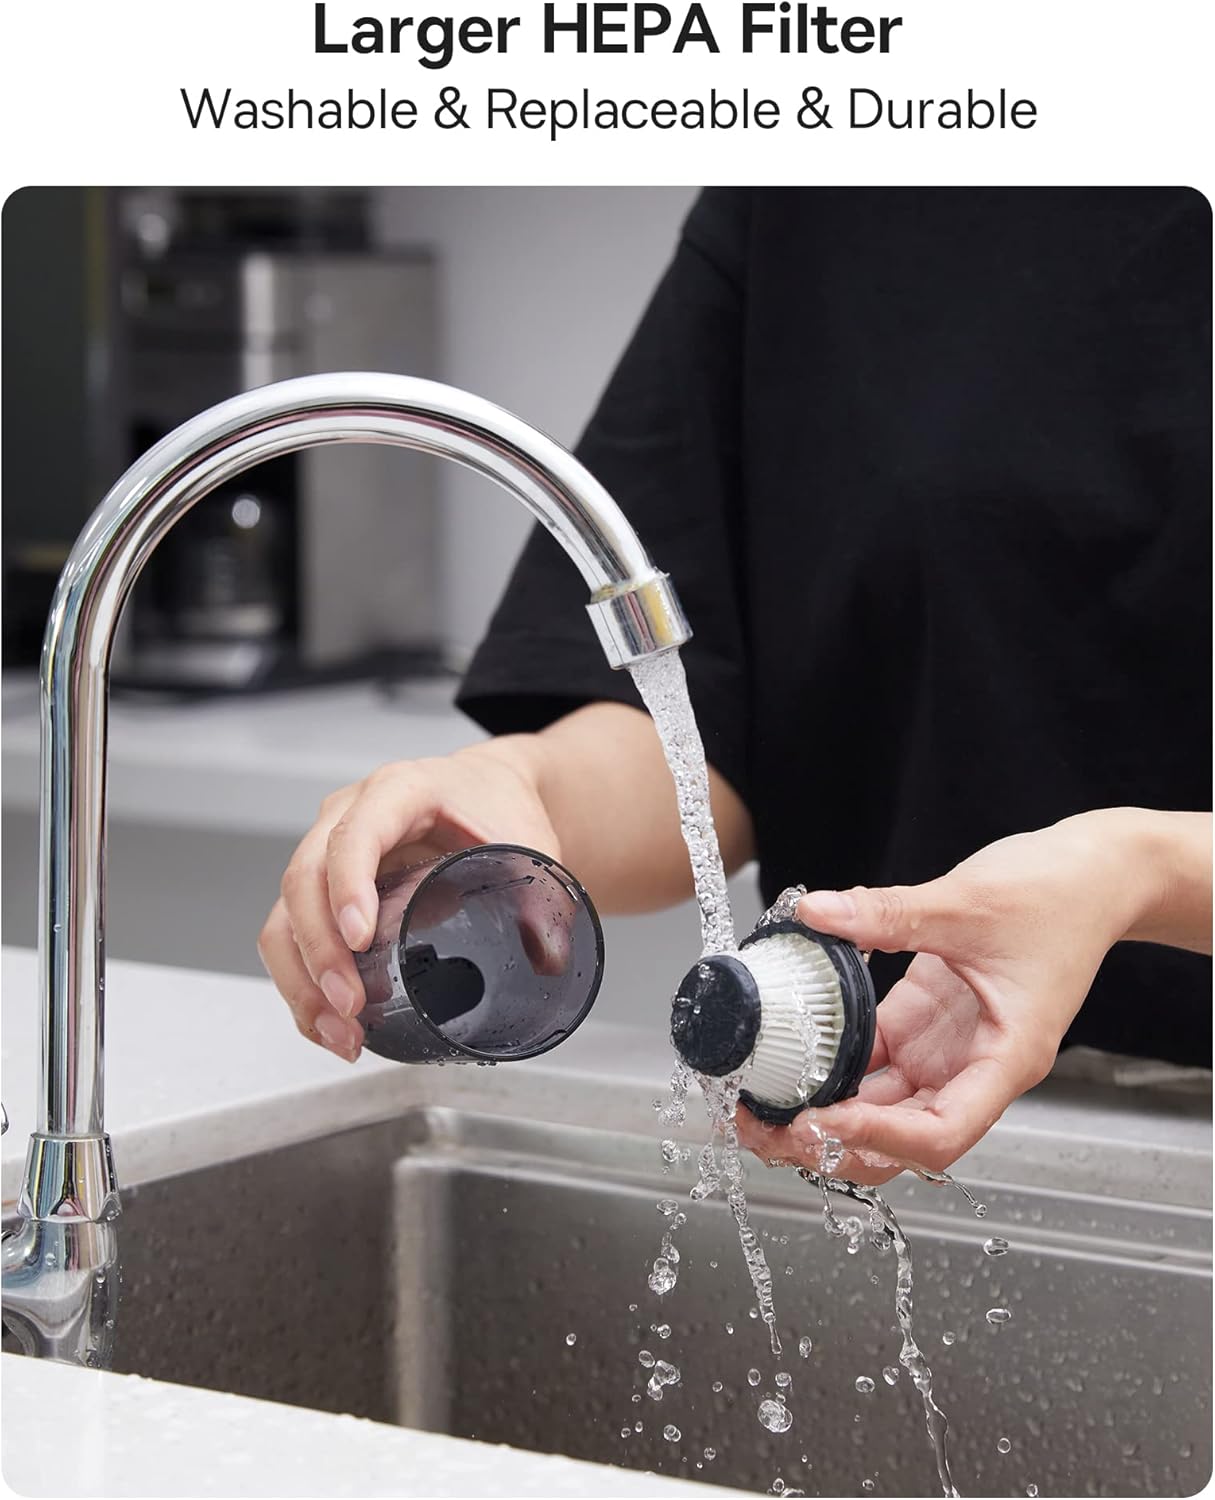
Figure 6.1: Cleaning the washable HEPA filter.
7: Անսարքություն
If you encounter any issues with your Baseus A2 Pro, refer to the following troubleshooting guide:
| Խնդիր | Հնարավոր պատճառ | Լուծում |
|---|---|---|
| Վակուումը չի միանում | Battery is depleted; Power button not pressed correctly | Մարտկոցը լիովին լիցքավորեք։ Սեղմեք և պահեք միացման կոճակը 2-3 վայրկյան։ |
| Թույլ ներծծող հզորություն | Dust cup is full; Filter is clogged; Nozzle is blocked | Empty the dust cup; Clean or replace the HEPA filter; Clear any obstructions from the nozzle. |
| Չի լիցքավորվում | Charging cable or adapter is faulty; Charging port is dirty | Try a different USB-C cable and adapter; Clean the charging port gently. |
| Անսովոր աղմուկ շահագործման ընթացքում | Obstruction in the nozzle or dust cup; Loose components | Check and clear any blockages; Ensure all components are securely assembled. |
8. Տեխնիկական պայմաններ
| Առանձնահատկություն | Մանրամասն |
|---|---|
| Բրենդ | Բասեուսը |
| Մոդելի անվանումը | A2 Pro |
| Suction Power | 80AW |
| Աղմուկի մակարդակը | Less than 60dB (as per feature bullets) |
| Մարտկոցի տեսակը | Լիթիում-իոնային (3*2000 մԱժ) |
| Runtime | Մոտավորապես 25-30 րոպե |
| Լիցքավորման ժամանակ | Մոտ. 3-4 ժամ |
| Լիցքավորման նավահանգիստ | USB-C |
| Զտիչի տեսակը | HEPA ֆիլտր (լվացվող) |
| Փոշու բաժակի տարողություն | 120 միլիլիտր |
| Նյութի քաշը | 1.6 ֆունտ |
| Չափերը (L x W x H) | 2.4"Երկարություն x 2.4"Լայնություն x 10.55"Բարձրություն |
9. Երաշխիք և աջակցություն
Baseus products are manufactured to the highest quality standards. For warranty information, technical support, or any questions regarding your Baseus A2 Pro Handheld Vacuum Cleaner, please refer to the warranty card included in your package or contact Baseus customer support directly. Keep your purchase receipt as proof of purchase for warranty claims.