1. Ներածություն
The EazeID M950 is a versatile label maker designed for home, office, and school use. It offers two primary printing modes: direct input via its integrated QWERTY keyboard and wireless control through the 'Print Master' mobile application via Bluetooth. Featuring a rechargeable battery and a backlit LCD screen, the M950 provides convenience and clarity for all your labeling needs. This manual provides detailed instructions for setting up, operating, and maintaining your device.
2. Փաթեթի բովանդակությունը
Խնդրում ենք ստուգել, որ ստորև թվարկված բոլոր ապրանքները ներառված են ձեր փաթեթում.
- 1 x EazeID M950 Label Maker
- 1 x 3M21 Black on White Label tape (12mm*4M)
- 1 x Type-C տվյալների մալուխ
- 1 x փաթեթավորման տուփ
- 1 x Օգտագործողի ձեռնարկ (այս փաստաթուղթը)

Figure 2.1: EazeID M950 Label Maker package contents.
3. Ապրանքը ավարտված էview
The EazeID M950 Label Maker features a compact design with an integrated QWERTY keyboard and a backlit LCD screen for ease of use. It utilizes thermal printing technology, eliminating the need for ink or toner.

Նկար 3.1. Առջև view of the EazeID M950 Label Maker and accessories.

Figure 3.2: Key features and components of the EazeID M950 Label Maker.
4. Կարգավորում
4.1 Սարքի լիցքավորում
The M950 Label Maker is equipped with a built-in 1200mAh rechargeable lithium battery. Before first use, or when the battery is low, charge the device using the provided Type-C USB cable.
- Connect the Type-C end of the cable to the charging port on the side of the label maker.
- Connect the USB-A end of the cable to a 5V-2A charging adapter (not included) or a compatible USB port.
- The device will indicate charging status on the LCD screen. A full charge typically takes 1-2 hours.
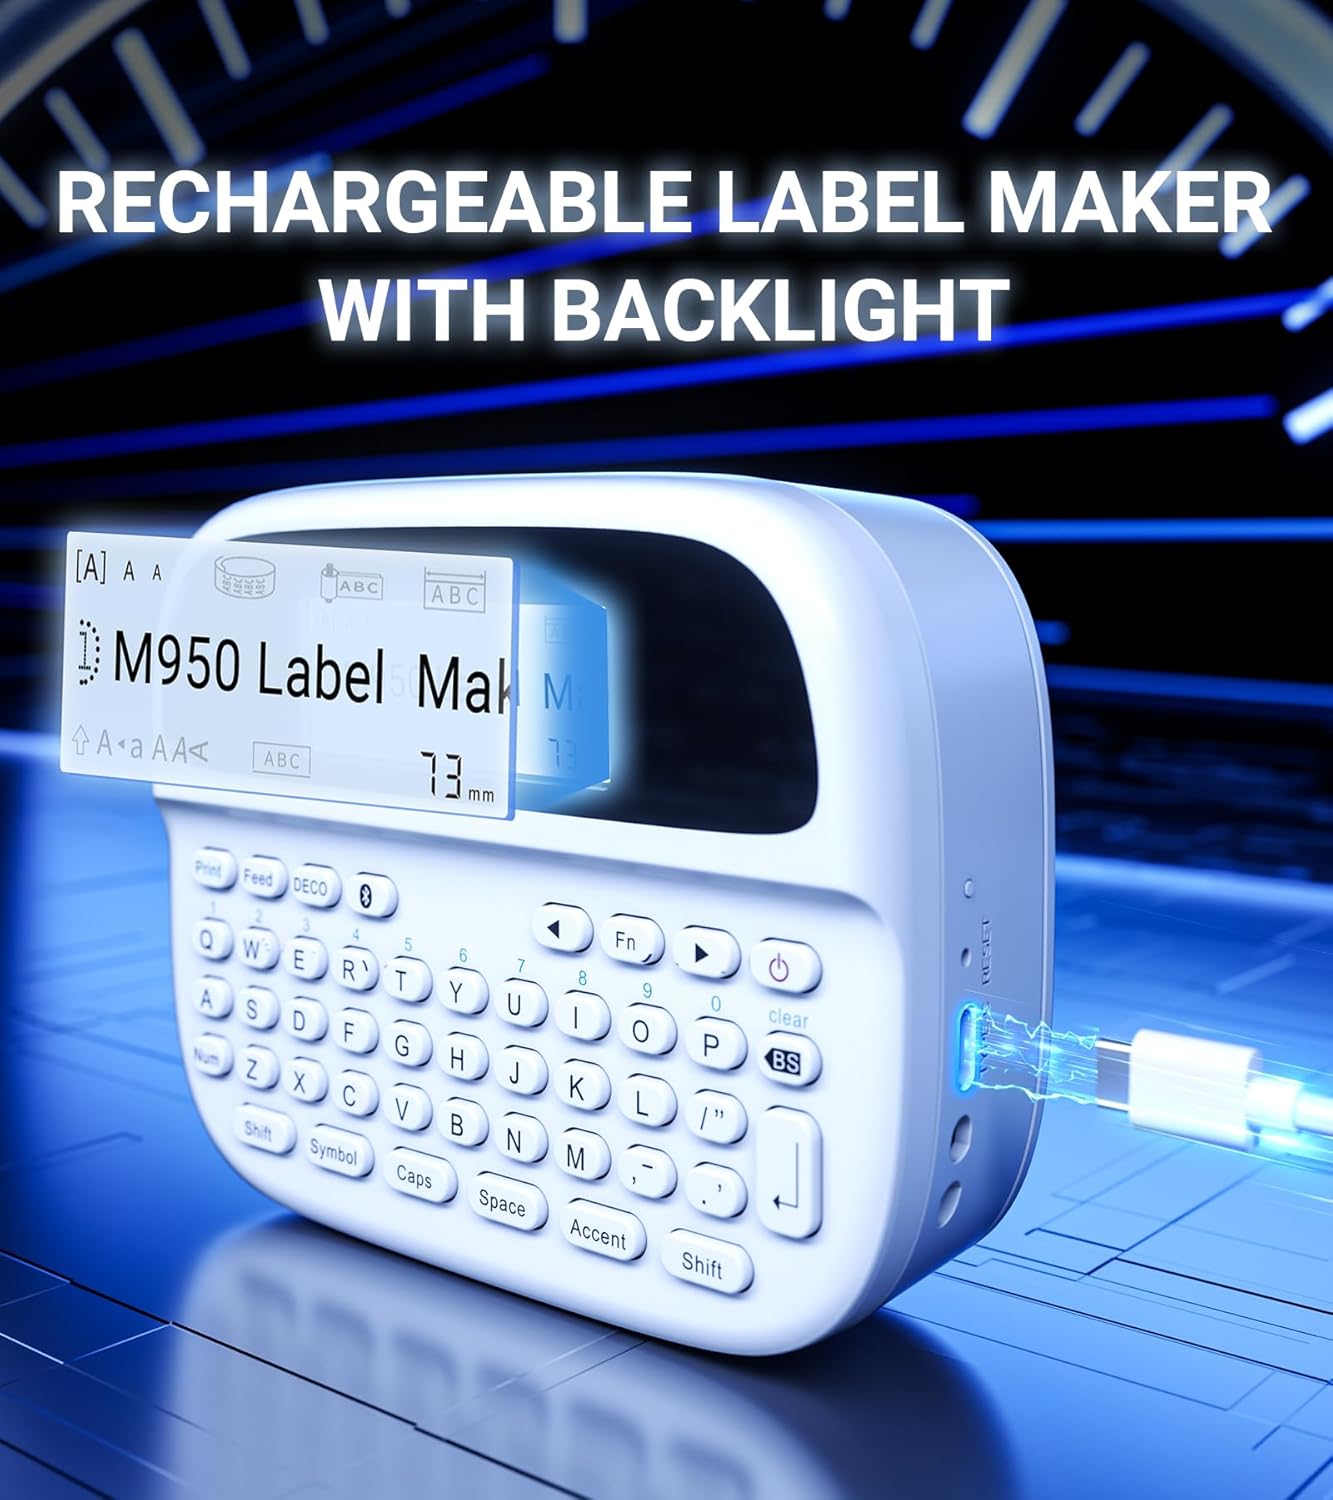
Figure 4.1: Charging the EazeID M950 Label Maker.
4.2 Պիտակի ժապավենի տեղադրում
To install or replace the label tape cassette:
- Ensure the label maker is powered off.
- Locate the tape compartment cover on the top of the device. Gently open the cover.
- Insert the label tape cassette into the compartment, ensuring it clicks into place. The tape should feed smoothly out of the slot.
- Ամուր փակեք ժապավենի բաժանմունքի կափարիչը։

Նկար 4.2. Ներքին view of the M950 label maker showing tape cassette placement.
5. Գործառնական հրահանգներ
5.1 Միացում/անջատում
- Միացնելու համար՝ սեղմեք և պահեք Իշխանություն button (usually marked with a power symbol) until the LCD screen illuminates.
- Անջատելու համար՝ սեղմեք և պահեք Իշխանություն կրկին սեղմեք կոճակը, մինչև էկրանը անջատվի։
5.2 Direct Printing via QWERTY Keyboard
The M950 features an ergonomic QWERTY keyboard for direct label creation.
- Միացում՝ Turn on the label maker.
- Input Text: Use the QWERTY keyboard to type your desired label text. The text will appear on the backlit LCD screen.
- Formatting Options: Use the function keys (e.g., Fn, Խորհրդանիշ, Կափարիչներ, Առոգանություն) to access various fonts, sizes, symbols, and other formatting options.
- Տպել: Սեղմեք Տպել կոճակը՝ պիտակը ստեղծելու համար։
- Կտրել: Use the built-in cutter to cleanly separate the printed label from the tape roll.

Figure 5.1: Using the QWERTY keyboard for direct label printing.
5.3 Bluetooth App Printing (Print Master App)
For advanced features and customization, connect your M950 to the 'Print Master' app via Bluetooth.
- Ներբեռնեք հավելվածը ՝ Download the 'Print Master' app from your device's app store (available on Android and iOS).
- Power On & Bluetooth: Turn on the label maker and ensure Bluetooth is enabled on both the label maker and your smartphone.
- Միացնել. Open the 'Print Master' app. The app will search for nearby EazeID label makers. Select 'EazeID M950' from the list to connect.
- Design Label: Use the app's interface to create your label. The app offers a vast library of customizable templates, over 1000 patterns, 100+ frames, 100+ fonts, barcodes, and QR codes.
- Տպել: Once your label is designed, tap the 'Print' icon in the app.
- Կտրել: Use the built-in cutter on the label maker to separate the printed label.

Figure 5.2: The EazeID M950 supports both keyboard and Bluetooth app printing modes.

Figure 5.3: Connecting to the 'Print Master' app via Bluetooth.
6. Պահպանում
6.1 Սարքի մաքրում
To ensure optimal performance and longevity of your label maker:
- Մաքրումից առաջ անջատեք սարքը:
- Օգտագործեք փափուկ, չոր կտոր՝ պիտակավորող սարքի արտաքին մասը սրբելու համար։
- For the print head, gently wipe with a cotton swab lightly dampիզոպրոպիլ սպիրտով։ Օգտագործելուց առաջ թողեք, որ ամբողջությամբ չորանա։
- Մի օգտագործեք հղկող մաքրող միջոցներ կամ լուծիչներ:
6.2 Մարտկոցի խնամք
Մարտկոցի կյանքը առավելագույնի հասցնելու համար.
- Խուսափեք մարտկոցի հաճախակի լրիվ լիցքաթափումից։
- Սարքը պարբերաբար լիցքավորեք, նույնիսկ եթե այն անընդհատ չեք օգտագործում։
- Երկար ժամանակ չօգտագործելու դեպքում սարքը պահեք զով, չոր տեղում։
7: Անսարքություն
If you encounter issues with your EazeID M950 Label Maker, refer to the following common problems and solutions:
| Խնդիր | Հնարավոր պատճառ | Լուծում |
|---|---|---|
| Սարքը չի միանում | Մարտկոցի ցածր մակարդակ; Սարքի անսարքություն | Charge the device for at least 30 minutes. If still unresponsive, contact support. |
| No print or faint print | Tape installed incorrectly; Print head dirty; Low battery | Reinstall tape cassette. Clean the print head. Charge the device. |
| Bluetooth կապը ձախողվում է | Bluetooth off; App not updated; Device too far | Ensure Bluetooth is enabled on both devices. Update 'Print Master' app. Move label maker closer to smartphone. Restart both devices. |
| Labels are difficult to peel | Specific label tape characteristic | Ensure you are using genuine EazeID label tape. Try bending the label backing slightly to separate. |
8. Տեխնիկական պայմաններ
Technical specifications for the EazeID M950 Label Maker:
- Մոդելի անվանումը: EazeID M950 Label Maker
- Տպագրության տեխնոլոգիա. Ջերմային
- Տպման լուծում. 203 DPI
- Միացում: Bluetooth, USB տիպ C
- Առավելագույն մեդիայի չափը՝ 12 մմ (0.47 դյույմ)
- Մարտկոց. 1200mAh Lithium Ion (rechargeable, included)
- Վերահսկման մեթոդ. App (Print Master), QWERTY Keyboard
- Հատուկ առանձնահատկություններ. Backlit LCD Screen, Built-in Cutter, Portable
- Ապրանքի չափսերը. Մոտավորապես 1 x 1 x 1 դյույմ
- Նյութի Քաշը: 1.06 ֆունտ
- Ներառված բաղադրիչներ. Label maker, tape, USB-C cable, user manual

Figure 8.1: EazeID M950 Label Maker dimensions and key features.
9. Երաշխիք և աջակցություն
The EazeID M950 Label Maker comes with a limited warranty. For specific warranty terms and conditions, please refer to the warranty card included in your product packaging or visit the official EazeID webկայք։
For technical support, troubleshooting assistance, or inquiries about replacement parts and accessories, please contact EazeID customer service through the contact information provided on the official webկայքը կամ ձեր գնման հարթակը։