T300
Generic T300 LED Mini Projector User Manual
Մոդել՝ T300
1. Ներածություն
Շնորհակալություն գնման համարasing the Generic T300 LED Mini Projector. This compact and portable projector is designed for home theater use, offering a clear viewing experience with its short-focus optical lens and diffuse reflection imaging technology, which helps reduce eye strain. This manual provides essential information for setting up, operating, maintaining, and troubleshooting your projector.
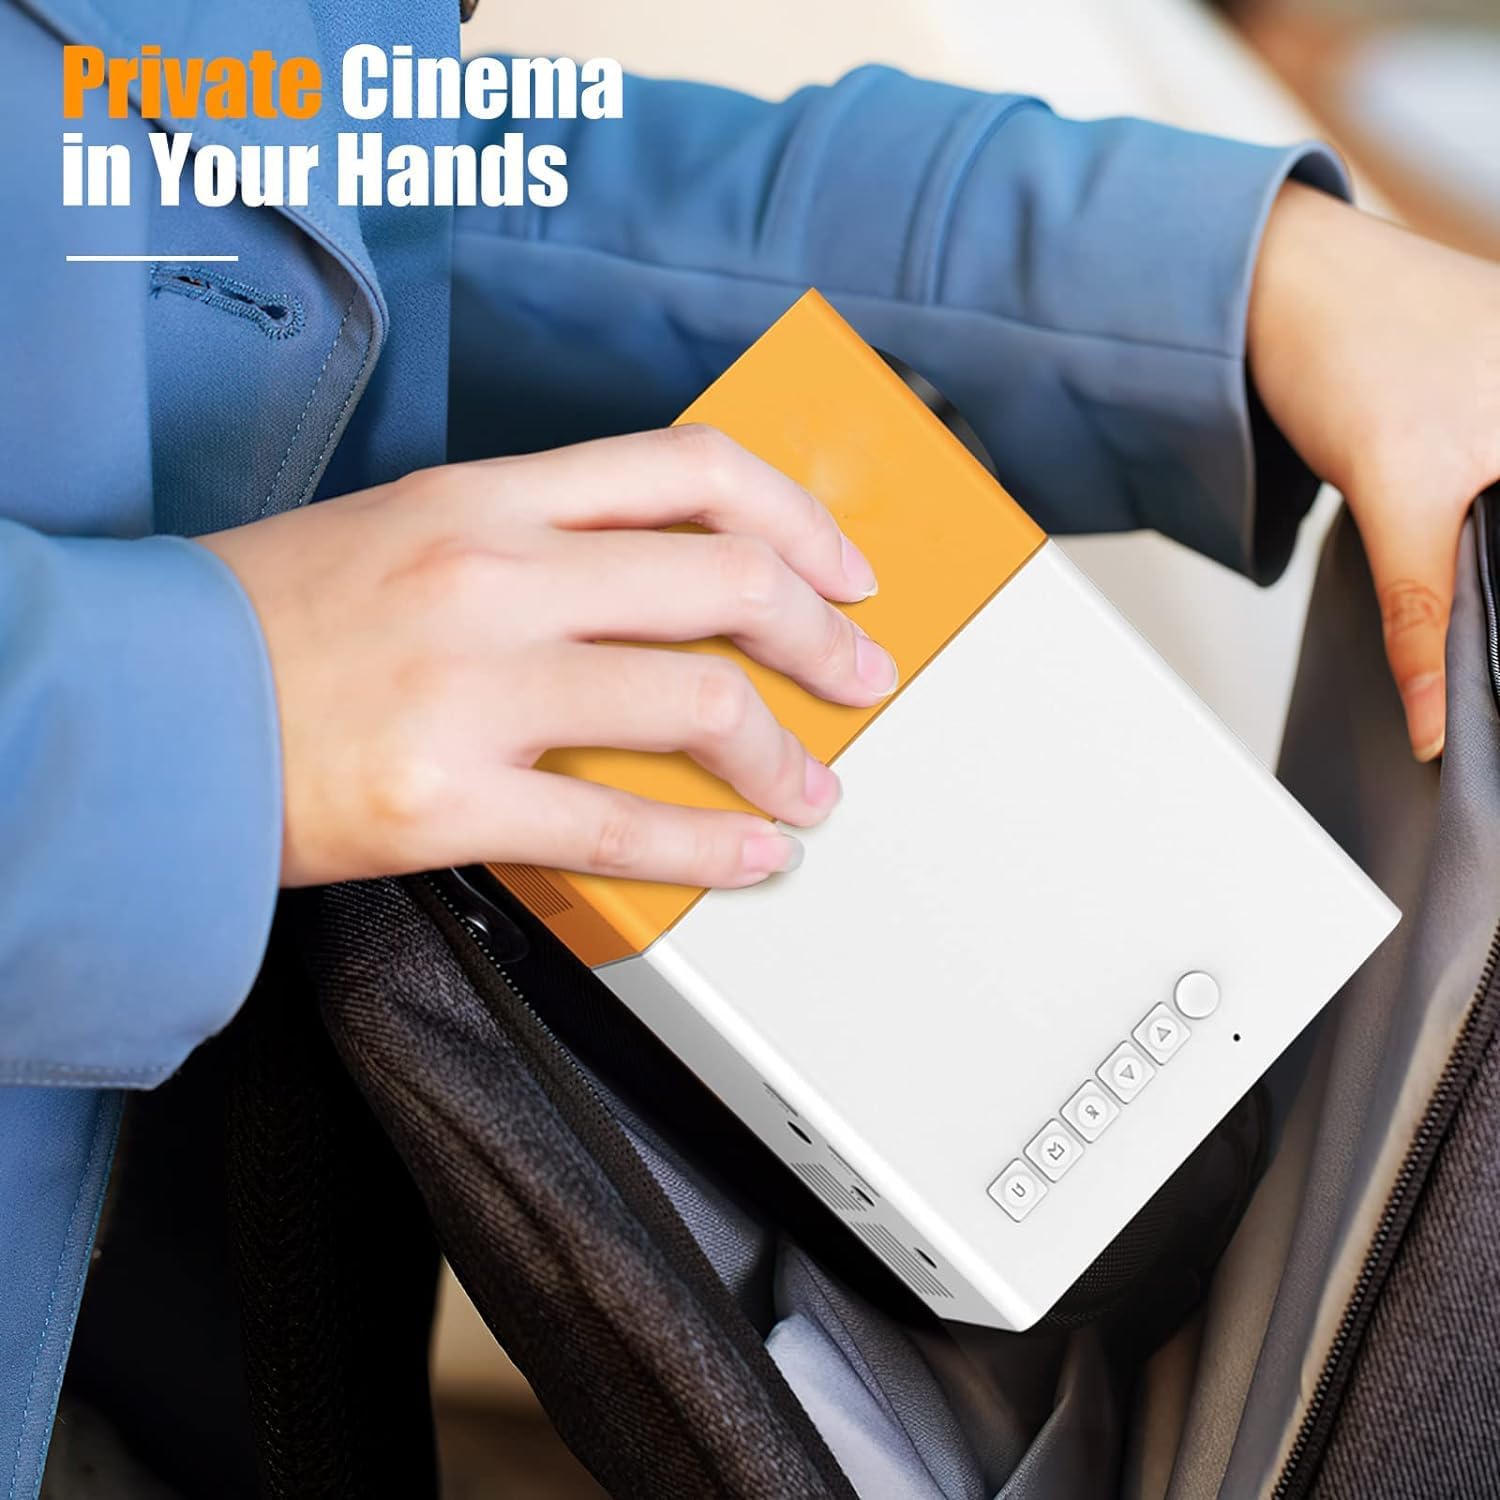
Նկար 1.1: The T300 Mini Projector's compact size allows for easy portability, fitting conveniently into a bag.
2. Փաթեթի բովանդակությունը
Խնդրում ենք տուփը բացելուց հետո ստուգել փաթեթի պարունակությունը՝ համոզվելու համար, որ բոլոր իրերը տեղում են։
- 1x T300 Projector
- 1x սնուցման ադապտեր (EU վարդակից)
- 1x հեռակառավարման վահանակ
- 1x AV մալուխ
- 1x օգտագործողի ձեռնարկ (այս փաստաթուղթը)
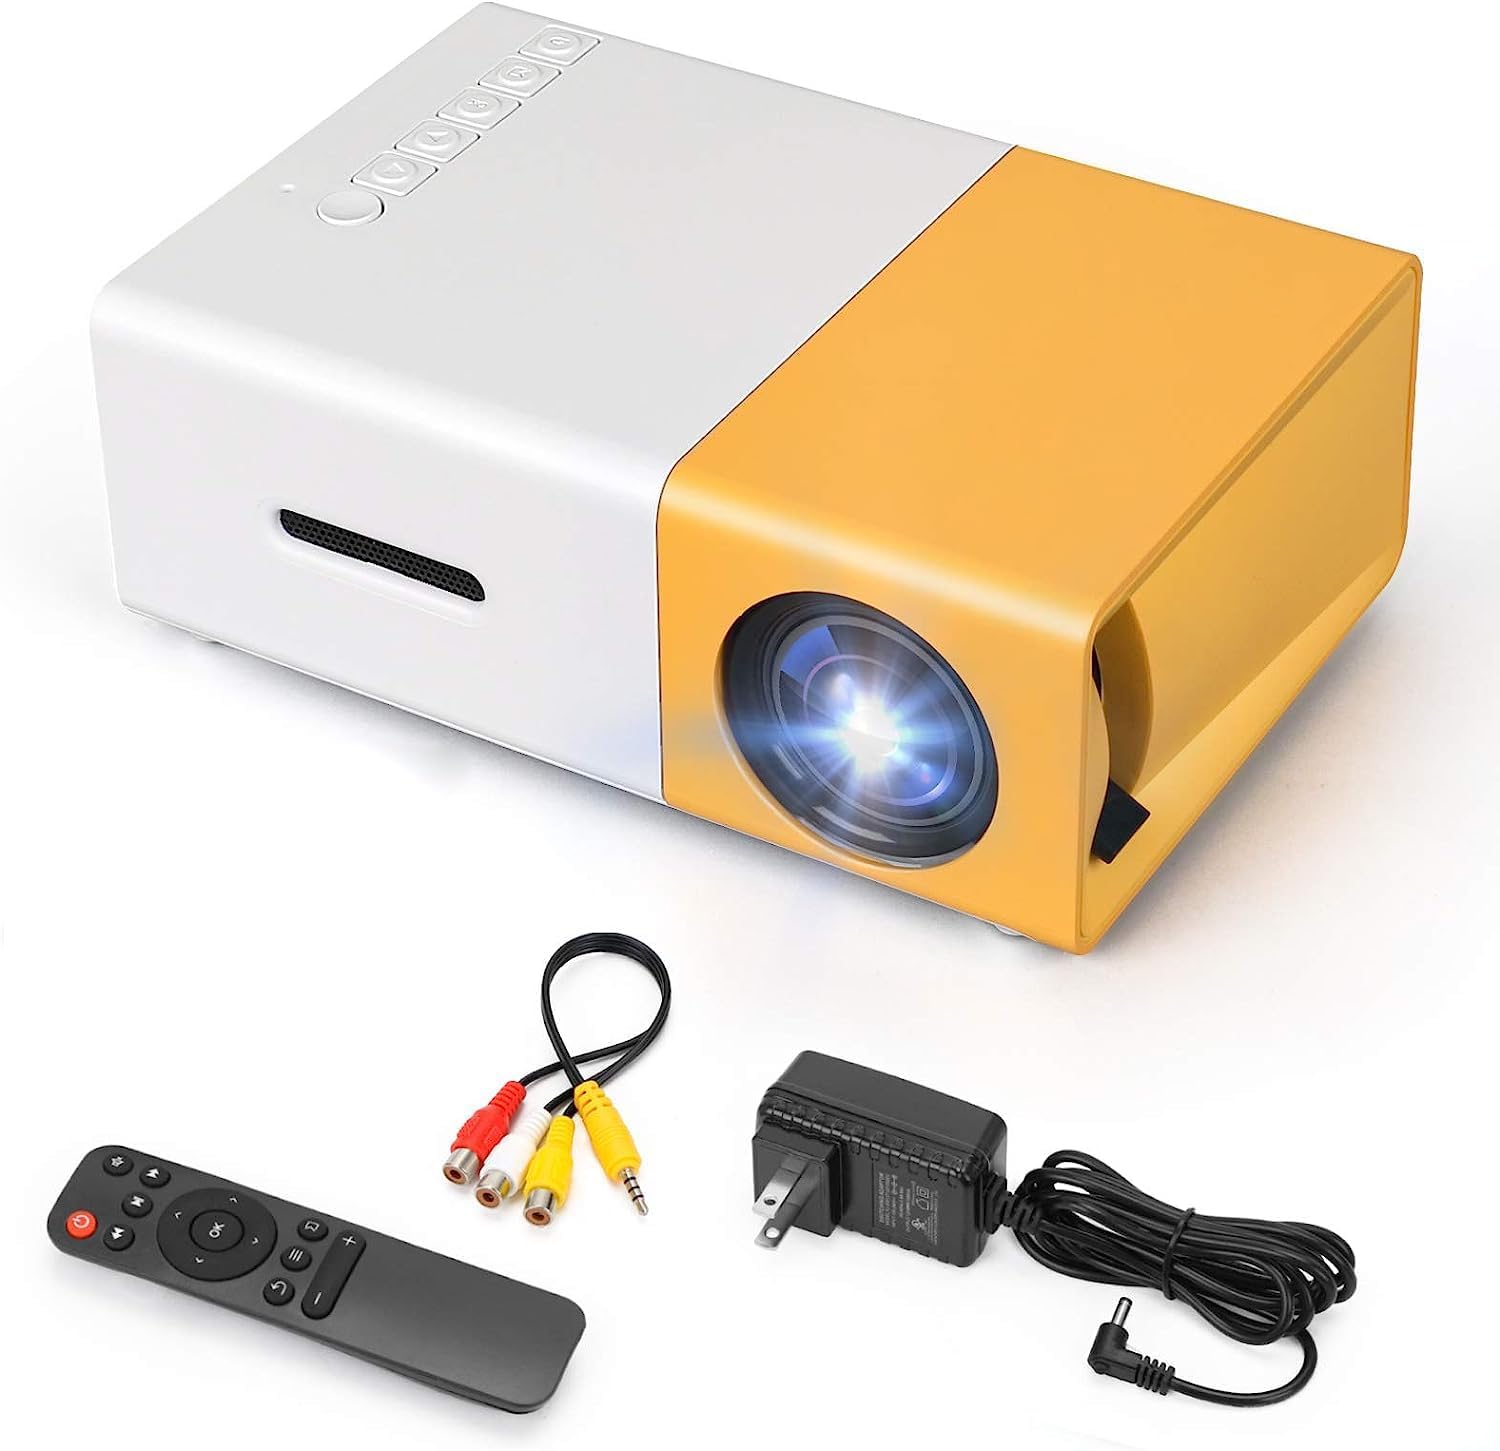
Նկար 2.1: The T300 Mini Projector and its included accessories.
3. Ապրանքը ավարտված էview
Familiarize yourself with the various ports and controls on your T300 Mini Projector:

Նկար 3.1: Առջևի և հետևի views of the T300 Mini Projector, detailing its input/output ports and control buttons.
3.1. Նավահանգիստներ և միջերեսներ
- HDMI մուտք. Connect to laptops, TV boxes, gaming consoles, and other HDMI-enabled devices.
- USB մուտք. Մեդիա ֆայլերը USB կրիչներից անմիջապես նվագարկելու համար։
- Micro SD քարտի բնիկ. For playing media directly from Micro SD cards.
- AV մուտքագրում. Connect to older devices using the included AV cable.
- Micro USB (5V/2A): Power input option, compatible with power banks or car chargers.
- Earphone Slot: Արտաքին ականջակալներ կամ բարձրախոսներ միացնելու համար։
- DC Power Մուտք. Main power input using the provided power adapter.
3.2. Վերահսկողություններ
- Էլեկտրական անջատիչ. Պրոյեկտորը միացնելու կամ անջատելու համար։
- Navigation Buttons (Left, Right, OK): Մենյուում նավարկության և ընտրության համար։
- Մուտքագրման կոճակ. Մուտքի աղբյուրը ընտրելու համար:
- Վերադարձի կոճակ. To go back in menus.
4. Կարգավորում
4.1. Էլեկտրաէներգիայի միացում
- Connect the provided power adapter to the DC Power Input port on the projector.
- Միացրեք հոսանքի ադապտեր պատի վարդակից:
- Alternatively, for portable use, connect a 5V/2A power bank or car charger to the Micro USB (5V/2A) port.
4.2. Սարքի միացում
The T300 projector supports various input sources:
- HDMI: Connect your laptop, TV box, gaming console (PS4/PS3), or other HDMI devices using an HDMI cable (not included).
- USB: Մեդիա նվագարկելու համար USB ֆլեշ կրիչը տեղադրեք USB միացքի մեջ files ուղղակիորեն.
- Micro SD քարտ. Insert a Micro SD card into the Micro SD card slot to play media files.
- Ա.Վ. Use the included AV cable to connect to devices with AV output (e.g., DVD players).

Նկար 4.1: Multimedia connectivity options for the T300 Mini Projector.
4.3. Placement and Focus
- Տեղադրեք պրոյեկտորը կայուն, հարթ մակերեսի վրա։
- Position the projector at a distance between 2 to 5 meters from the projection surface to achieve an optimal image size of 60 to 150 inches.
- Adjust the focus ring on the projector lens until the image appears clear and sharp. The short-focus optical lens allows focusing at a distance of 50cm.
5. Գործառնական հրահանգներ
5.1. Միացում/անջատում
Press the Power Switch on the projector or the power button on the remote control to turn the projector on or off.
5.2. Մուտքային աղբյուրի ընտրություն
After powering on, use the 'Input' button on the projector or the remote control to cycle through available input sources (HDMI, USB, TF Card, AV) until your desired source is displayed.
5.3. Մուլտիմեդիա վերարտադրություն
The projector supports multi-format video, audio, picture, and e-book playback. Navigate through your media files using the navigation buttons on the projector or remote control and press 'OK' to select.
5.4. Աուդիո ելք
The projector has a built-in miniature speaker. For enhanced audio, connect external speakers or headphones to the Earphone Slot.

Նկար 5.1: Versatile applications of the T300 Mini Projector for entertainment.
6. Պահպանում
6.1. Լինզայի մաքրում
Use a soft, lint-free cloth or lens cleaning paper to gently wipe the projector lens. Avoid using abrasive materials or harsh chemicals that could scratch the lens.
6.2. Օդափոխում
Ensure the projector's ventilation openings are not blocked during operation to prevent overheating. Keep the projector in a well-ventilated area.
6.3. Պահպանում
When not in use, store the projector in a cool, dry place, away from direct sunlight and excessive dust. It is recommended to use the original packaging or a protective case.
6.4. Լamp Կյանք
LED լamp in your T300 projector has an estimated life of 20,000 hours, providing long-term use without frequent lamp փոխարինում.
7: Անսարքություն
Եթե ձեր պրոյեկտորի հետ կապված խնդիրներ ունեք, դիմեք հետևյալ տարածված խնդիրներին և լուծումներին.
- Պատկեր չկա՝
- Ensure the projector is powered on and the power adapter is securely connected.
- Verify the input source is correctly selected (HDMI, USB, AV, etc.).
- Ստուգեք պրոյեկտորի և աղբյուրի սարքի միջև միացման մալուխը։
- Պատկերը մշուշոտ է։
- Կարգավորեք պրոյեկտորի օբյեկտիվի ֆոկուսի օղակը, մինչև պատկերը պարզ դառնա։
- Ensure the projection distance is within the recommended range (2-5 meters).
- Ձայն չկա.
- Ստուգեք ձայնի կարգավորումները և՛ պրոյեկտորի, և՛ աղբյուրի սարքի վրա։
- If using external speakers/headphones, ensure they are properly connected to the Earphone Slot.
- Verify the audio output settings on your source device.
- Հեռակառավարումը չի աշխատում.
- Համոզվեք, որ հեռակառավարման վահանակի և պրոյեկտորի ինֆրակարմիր ընդունիչի միջև որևէ խոչընդոտ չկա։
- Replace the batteries in the remote control if necessary.
8. Տեխնիկական պայմաններ
| Առանձնահատկություն | Հստակեցում |
|---|---|
| Մոդել | T300 |
| Աջակցության բանաձեւ | 1920 x 1080 (Full HD) |
| Մայրենի բանաձեւ | 1920 x 1080 |
| Ցուցադրման տեսակը | LCD, DLP |
| Ինտերֆեյսեր | HDMI, USB, TF Card Slot, AV, Micro USB (5V-2A) |
| Ներկառուցված բարձրախոս | Այո՛ |
| Lamp Կյանք | 20,000 ժամ |
| Ապրանքի չափը | 114 x 87 x 50 մմ |
| Առաջարկվող կիրառումներ | Տնային կինոթատրոն |
| Հատուկ առանձնահատկություն | Դյուրակիր |
| Պատկերի առավելագույն չափը | 150 դյույմ |
| Նվազագույն պատկերի չափը | 60 դյույմ |
| Նետման առավելագույն հեռավորությունը | 5 մետր |
| Նետման նվազագույն հեռավորությունը | 2 մետր |
| Էլեկտրաէներգիայի մուտքագրում | 5V/2A |
9. Երաշխիք և աջակցություն
9.1. Երաշխիքային տեղեկատվություն
Այս ապրանքը սովորաբար գալիս է ա 10-օրյա փոխարինման քաղաքականություն from the date of purchase. Please refer to your retailer's specific warranty terms and conditions for detailed information. The LED lamp is designed for a long life of 20,000 hours, which is not typically covered by short-term replacement policies.
9.2. Հաճախորդների աջակցություն
For technical assistance, troubleshooting beyond this manual, or warranty claims, please contact your original retailer or the manufacturer, SHUBH LABH ENTERPRISES. Keep your purchase receipt or proof of purchase handy when contacting support.
Ask a question about this manual
Ask about setup, troubleshooting, compatibility, parts, safety, or missing instructions. Manuals+ will review the question and use this page’s manual context to help answer it.