1. Ներածություն
This manual provides essential information for the proper installation, operation, and maintenance of your LC-Power FHD 32 inch 165Hz Curved Gaming Monitor (Model: LC-M32-FHD-165-C-A). Please read this manual thoroughly before using the product to ensure optimal performance and safety.

Նկար 1.1. Առջև view of the LC-Power 32-inch curved gaming monitor.
2. Անվտանգության տեղեկատվություն
Մոնիտորի վնասումը կանխելու և օգտագործողի անվտանգությունն ապահովելու համար պահպանեք հետևյալ անվտանգության միջոցառումները.
- Մի՛ ենթարկեք մոնիտորը անձրևի, խոնավության կամ ծայրահեղ ջերմաստիճանների ազդեցությանը։
- Ապահովեք մոնիտորի շուրջը պատշաճ օդափոխություն։ Մի՛ փակեք օդափոխության բացվածքները։
- Օգտագործեք միայն մոնիտորի հետ մատակարարվող սնուցման ադապտերը։
- Խուսափեք հոսանքի լարին ծանր առարկաներ դնելուց:
- Disconnect the power cable from the outlet during lightning storms or when unused for extended periods.
- Մի փորձեք ինքներդ վերանորոգել մոնիտորը։ Բոլոր սպասարկման աշխատանքները դիմեք որակավորված մասնագետներին։
3. Փաթեթի բովանդակությունը
Ստուգեք, որ բոլոր իրերը առկա են փաթեթում.
- LC-Power 32 inch Curved Gaming Monitor
- Մոնիտորի հենակ (հիմք և պարանոց)
- Հոսանքի ադապտեր և հոսանքի մալուխ
- HDMI մալուխ
- Օգտագործողի ձեռնարկ
- Պտուտակներ հենարանի հավաքման համար
4. Կարգավորում
4.1 Հենարանի հավաքումը
- Զգուշորեն հանեք մոնիտորը փաթեթավորումից՝ այն պաշտպանելով փափուկ մակերեսի վրա։
- Հենարանի վզիկը մոնիտորի վահանակին ամրացրեք տրամադրված պտուտակների միջոցով։
- Connect the stand base to the stand neck and secure it with the remaining screws.
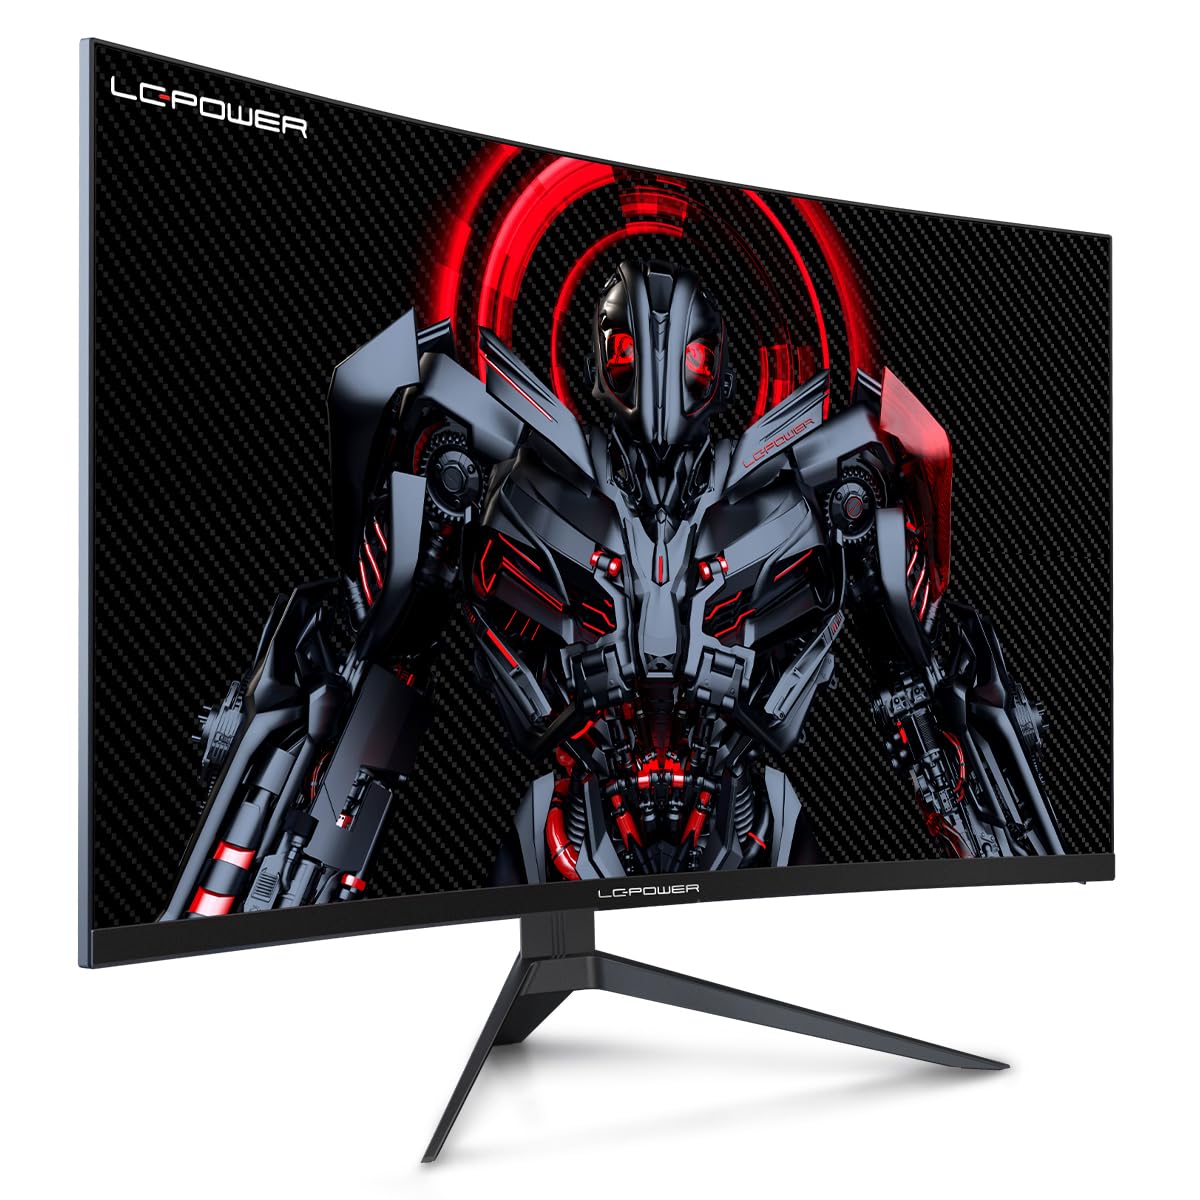
Figure 4.1: LC-Power monitor with stand assembled.
4.2 Միացնող մալուխներ
Միացրեք անհրաժեշտ մալուխները մոնիտորի հետևի միակցիչներին։
- Հզորությունը: Միացրեք սնուցման ադապտերը մոնիտորի հաստատուն հոսանքի մուտքին, ապա՝ վարդակիցին։
- Տեսանյութի ներածում. Connect an HDMI or DisplayPort cable from your computer's graphics card to the corresponding port on the monitor.

Նկար 4.2. Հետևի view մոնիտորի մուտքային միացքներով։
4.3 VESA մոնտաժ (ըստ ցանկության)
The monitor supports VESA 100x100mm mounting. To use a VESA mount, remove the stand and attach the monitor to a compatible VESA bracket using appropriate screws (not included).
5. Գործառնական հրահանգներ
5.1 Միացում/անջատում
Մոնիտորը միացնելու կամ անջատելու համար սեղմեք միացման կոճակը, որը սովորաբար գտնվում է մոնիտորի հետևի կամ ներքևի մասում: Մոնիտորը միացված լինելու դեպքում միացման ցուցիչը կվառվի:
5.2 Էկրանի ցուցադրման (OSD) ընտրացանկ
The OSD menu allows you to adjust various monitor settings. Use the control buttons (joystick or individual buttons) on the monitor to navigate the menu.
Ընդհանուր էկրանի կարգավորումներ՝
- Նկարի կարգավորումներ. Կարգավորեք պայծառությունը, հակադրությունը, սրությունը և գույնի ջերմաստիճանը։
- Մուտքագրման ընտրություն. Ձեռքով անցում կատարեք HDMI և DisplayPort մուտքերի միջև։
- Աուդիո: Adjust volume if external speakers are connected via the monitor's audio output.
- Խաղի կարգավորումներ. Access features like Overdrive, GamePlus (crosshair overlays), FPS/RTS modes, and Adaptive Sync.
- Displayուցադրման կարգավորումներ. Adjust aspect ratio, resolution, and refresh rate. Ensure your graphics card is configured to output 1920x1080 resolution at 165Hz for optimal performance.
- Low Blue Light & Flicker-Free: These features are designed to reduce eye strain during prolonged use. They can be enabled or disabled in the OSD menu.
6. Պահպանում
6.1 Մոնիտորի մաքրում
- Մաքրումից առաջ միշտ անջատեք մոնիտորը:
- Օգտագործեք փափուկ, առանց մզկի կտոր, թեթևակի դampջրով կամ մեղմ, ոչ հղկող էկրան մաքրող միջոցով։
- Մաքրող միջոցը անմիջապես էկրանին մի ցողեք։
- Avoid using benzene, thinner, or ammonia-based cleaners.
6.2 Պահպանում
If storing the monitor for an extended period, disconnect all cables, pack it in its original packaging, and store it in a cool, dry place away from direct sunlight.
7: Անսարքություն
Հաճախ հանդիպող խնդիրների և դրանց լուծումների համար դիմեք հետևյալ աղյուսակին.
| Խնդիր | Հնարավոր պատճառ | Լուծում |
|---|---|---|
| Էկրանի վրա պատկեր չկա | Power cable disconnected; Video cable disconnected; Incorrect input selected | Check power and video cable connections; Select correct input via OSD menu |
| Պատկերի թարթում | Faulty video cable; Graphics card driver issue; Refresh rate mismatch | Replace video cable; Update graphics drivers; Set refresh rate to 165Hz in OS display settings |
| Գույները սխալ են երևում | Գույների կարգավորումները էկրանի էկրանին; Գրաֆիկական քարտի կարգավորումները | Adjust color settings in OSD; Calibrate colors via graphics card control panel |
| Մոնիտորը չի միանում | Power cable not connected; Power adapter faulty | Ensure power cable is securely connected; Test power outlet; Contact support if adapter is suspected faulty |
8. Տեխնիկական պայմաններ
Detailed technical specifications for the LC-Power LC-M32-FHD-165-C-A monitor:
| Առանձնահատկություն | Հստակեցում |
|---|---|
| Բրենդ | LC-Power |
| Մոդել | LC-M32-FHD-165-CA |
| Էկրանի չափը | 32 դյույմ |
| Էկրանի լուծում | 1920 x 1080 (FHD 1080p) |
| Թարմացման արագություն | 165 Հց |
| Արձագանքման ժամանակը | 1 Միլվայրկյան |
| կորություն | 1500R |
| Ասպեկտների հարաբերակցություն | 16։9 |
| Ցուցադրման տեխնոլոգիա | LCD |
| Viewանգլ | 178 աստիճան |
| Ապարատային միջերես | HDMI, DisplayPort |
| Հատուկ առանձնահատկություններ | Curved, Flicker-Free, Low Blue Light, GamePlus, Overdrive, FPS/RTS |
| VESA Համատեղելիություն | 100x100 մմ |
| Ապրանքի չափերը | 14.3 x 53.8 x 40.6 սմ (L x W x H) |
| Նյութի քաշը | 8.24 կգ |
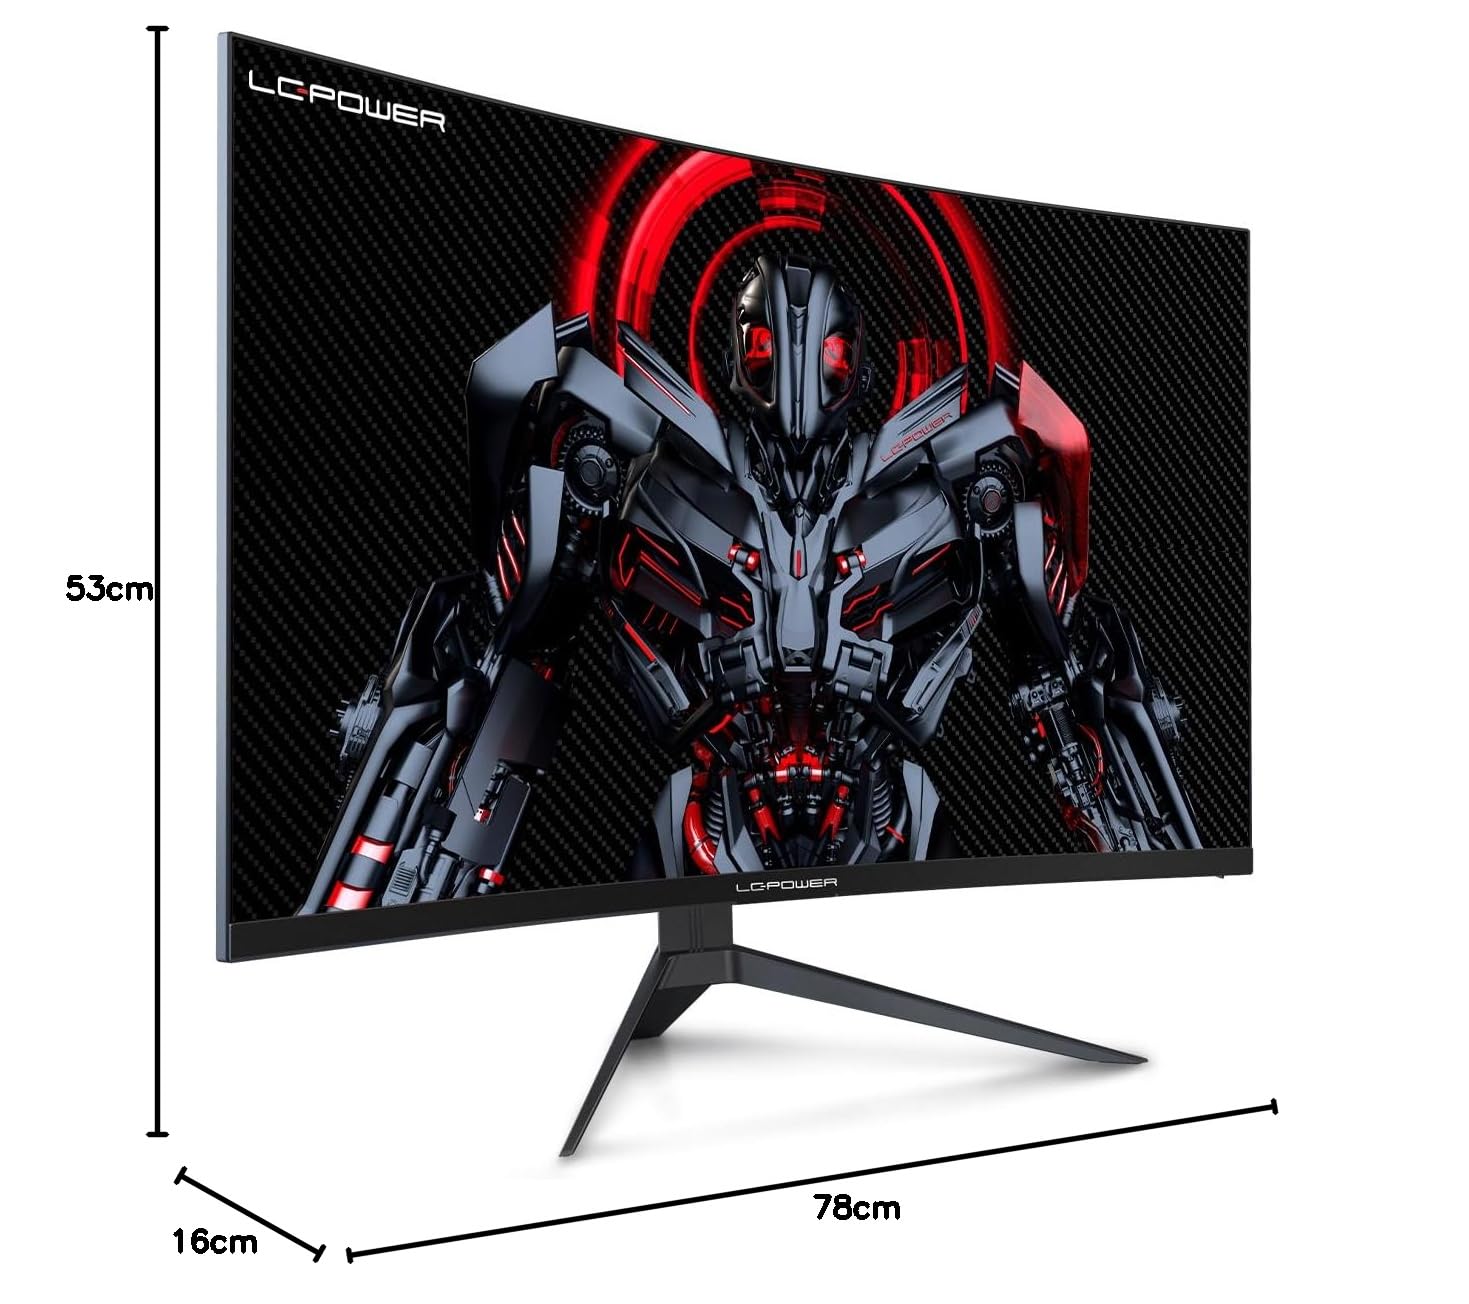
Figure 8.1: Monitor dimensions for planning installation space.
9. Երաշխիք և աջակցություն
LC-Power provides a three-year warranty for this product. Additionally, a twelve-month replacement service is available. For technical assistance or inquiries regarding damage, defects, or missing parts, please contact LC-Power customer support. Telephone technical support is also available.


